
Adobe Creative Cloud apps are powerful, but they’re also resource-heavy. If your Mac isn’t set up to handle them properly, you’re going to feel that friction every single day.
Optimizing a Mac for Adobe Creative Cloud (CC) involves a combination of hardware management, macOS system tweaks, and specific configuration within Adobe applications to maximize performance.
This may involve optimizing software preferences to utilize Apple Silicon/Intel resources efficiently, while managing system memory, particularly RAM-intensive tasks like video editing and 3D rendering.
Here are the best ways to ensure Photoshop runs seamlessly on your Mac
Advertisment
First things first. Adobe is constantly updating the minimum and recommended system requirements for each app. Trying to run Premiere Pro on a Mac that meets the minimum spec is a sure-fire road to disappointment.
Here are the key specs to check:
Adobe CC apps are memory-hungry. If background apps and processes already occupy your RAM, Creative Cloud has less to work with from the moment you open it. Here are a few ways to do this:
Quit apps you’re not using
Every open app consumes RAM, even when idle. Quit every app you’re using on your Mac before you start handling any projects on Adobe Photoshop.
Check Activity Monitor
You can easily spot which activities are slowing down your Mac from direct from the Activity Monitor through these simple steps:


Review the activities from the memory tab. If memory pressure is in the yellow or red zone, your Mac is struggling.
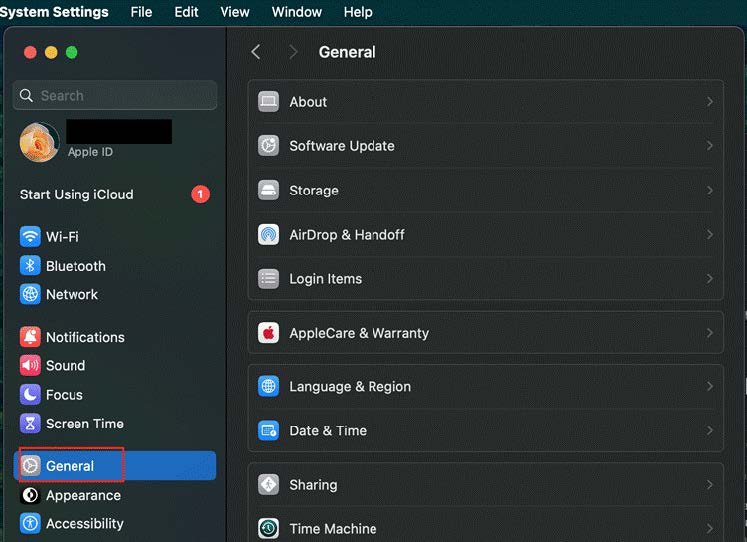
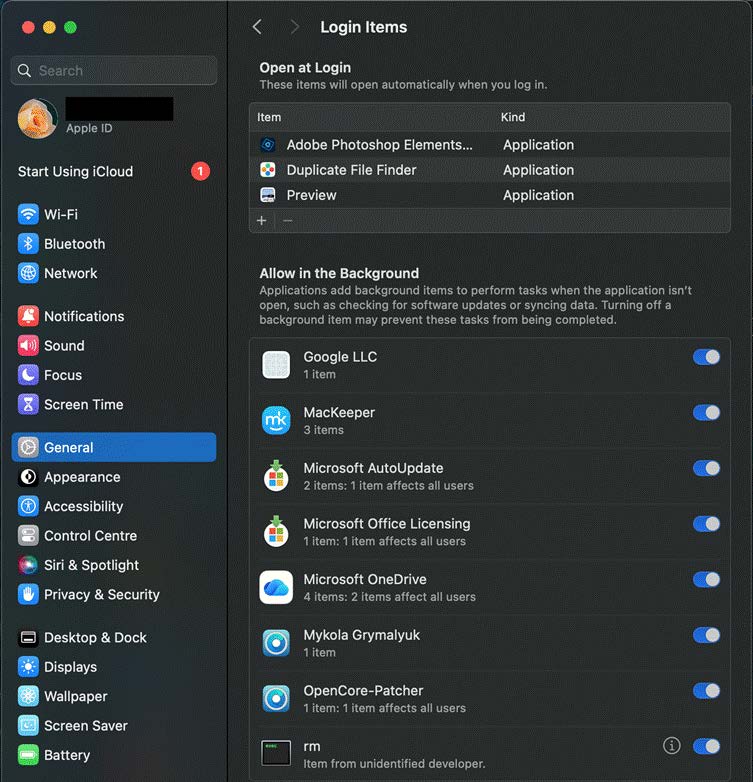
Disable login items that don’t need to run all the time
Advertisment
When Adobe apps run out of RAM, they spill over onto a scratch disk, a section of your storage drive used as virtual memory. The problem is that if your scratch disk is on a slow or nearly full drive, performance tanks.
In Photoshop, go to Preferences and locate Scratch Disks. Set it to your fastest drive, ideally an internal NVMe SSD with plenty of free space. Avoid using an external USB drive as a scratch disk — it’s too slow. The same principle applies in Premiere Pro
This is also where keeping your Mac’s storage clean pays off. A drive that’s 90% full will be noticeably slower than one with room to breathe.
Using a good Mac cleaning software helps you clear out junk files, app caches, old downloads, and duplicate files that quietly eat up space over time. This is the kind of clutter that directly affects scratch disk performance and overall system responsiveness.
GPU acceleration offloads rendering tasks from the CPU to the graphics processor, which is much faster at handling visual data. This is one of the easiest wins you can get.
Photoshop
Go to Photoshop > Preferences > Performance. Under Graphics Processor Settings, make sure Use Graphics Processor is checked. This enables GPU-accelerated features like OpenGL pan and zoom, 3D rendering, and specific filter effects.
Premiere Pro
In your project settings, under Video Rendering and Playback, set the renderer to Apple Metal. On Apple Silicon Macs, this is the native, highly optimized rendering engine. It’s significantly faster than the older Mercury Playback Engine (Software Only) option.
After Effects
Go to After Effects > Preferences > Display and enable hardware acceleration. Also, check your Media & Disk Cache settings while you’re there — setting a dedicated, fast location for the disk cache can speed up previews considerably.
Editing 4K or 6K footage in real time is taxing on any machine. Proxy workflows solve this by letting you edit using lower-resolution versions of your footage, then automatically swapping back to the originals when you export.
In Premiere Pro, right-click your footage in the Project panel and select Proxy > Create Proxies. Choose a lower-resolution format like H.264 or ProRes Proxy, then toggle proxies on and off using the button in the Program Monitor.
This single change can transform choppy or sluggish video editing into a smooth workflow, especially on MacBook Pros or older Intel Macs.
This one’s easy to overlook, but both Apple and Adobe regularly push performance improvements through updates. macOS updates often include better memory management, improved Metal performance, and bug fixes that affect how resource-intensive apps run.
Adobe’s updates frequently include render engine optimizations, better Apple Silicon support, and stability patches. Running outdated versions means you’re missing out on improvements that could directly speed up your workflow.
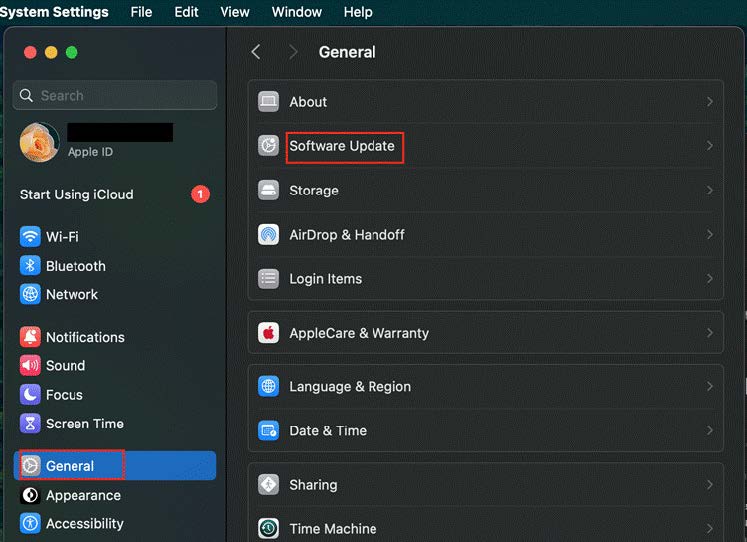
Open the Creative Cloud desktop app and check for updates regularly. For macOS, here are simple steps to follow if you want to update your Mac operating system.

Advertisment
Adobe Creative Cloud is built to do demanding work. Your Mac is capable of running it well. The difference between a sluggish setup and a smooth one usually comes down to the correct configurations.
This goes down to how your system is set up, how clean your storage is, and whether your apps are getting the resources they need. Apply these optimizations, and you’ll spend a lot more time creating and a lot less time waiting.
Advertisment
Pin it for later!

If you found this post useful you might like to read these post about Graphic Design Inspiration.
Advertisment
If you like this post share it on your social media!


Want to make your Business Grow with Creative design?
Advertisment

Advertisment