Credit: Hello I’m Nik
If you’re looking for one of the most robust digital drawing and painting apps for graphic designers, look no further than Procreate. This app has everything you need to create stunning digital art and is perfect for beginners.
In this article, we will teach you the basics of how to use Procreate, which will be divided into three sections: getting set up, essential tools, and Procreate tips and tricks. You’re a beginner now, but by the end, you’ll be well on your way to becoming a true expert.
Advertisment
Credit: Brett Jordan
Procreate is an iOS app among the best graphic design tools that allow users to create digital paintings and illustrations. It offers a wide range of features and tools, making it a popular choice for amateur and professional artists.
The app is intuitive and easy to use, with a streamlined interface that mimics the traditional painting experience. Procreate also includes a robust set of tutorials and forums, providing users with everything they need to get started.
Whether you’re looking to create a masterpiece or simply kill some time, Procreate is an excellent option for anyone who loves to paint or draw.
There are three essential things you will need before getting started in Procreate.
Credit: Joan Tran
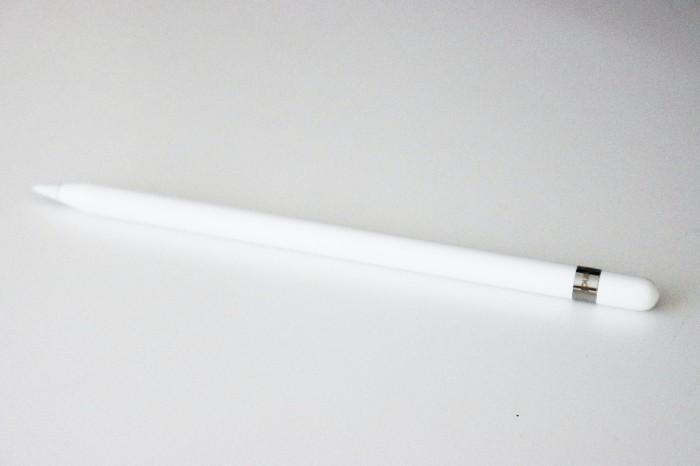
The Apple Pencil is a stylus you can use with specific iPad models to provide a more natural writing or drawing experience. It features pressure-sensitive tips that allow for finer control.
Additionally, the Apple Pencil charges quickly and doesn’t require batteries, making it a convenient and reliable tool for creatives on the go. Its intuitive and precise design and ability to show you where your Apple Pencil will touch on the screen makes everything feel fluid and natural.
The Apple Pencil is great for many purposes, like taking notes in class or sketching a new idea. It’s an ideal way to put your thoughts into digital form.
Credit: Daniel Romero
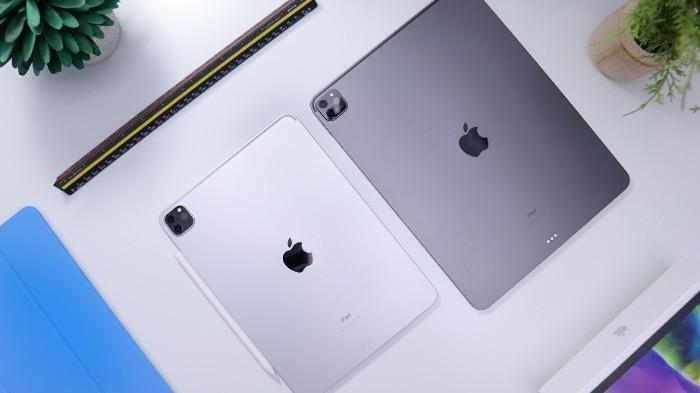
The Apple iPad is the perfect device for anyone who wants to do more with their tablet.
Developed by Apple Inc., iPads are among the best drawing tablets, and they have a multi-touch screen that can surf the web, check email, play music, and draw using Procreate. The first iPad was released in 2010, and since then, several different versions have been released.
iPads typically come in two sizes: the standard size and the mini size. They can also come with various storage capacities and different connectivity options. Some iPads have cellular data capability, while others have a Retina Display, meaning the screen has a higher resolution. There are also different color options available.
Advertisment
Procreate is one of the most popular drawing apps available, and for a good reason. It’s packed with features that allow you to create professional-quality art and is easy to use.
Here are the three best iPads for Procreate.
Credit: Hello I’m Nik
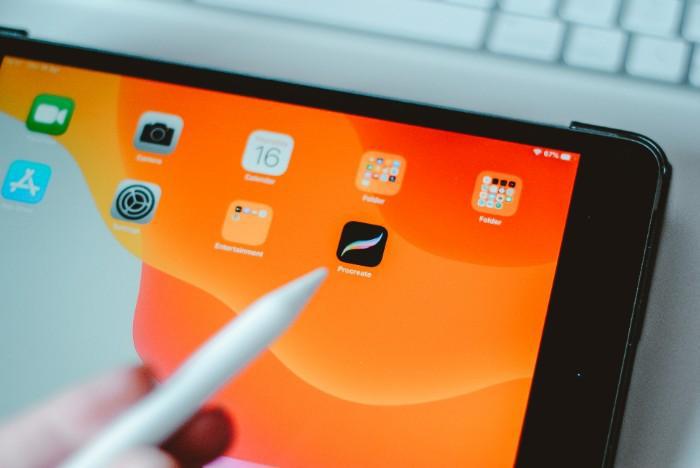
The last thing you’ll need before getting started in Procreate is, of course, Procreate. The Procreate app is available for purchase exclusively from the App Store.
Here is how you can download the Procreate app onto your iPad in 3 simple steps:
Now that you have everything you need (Apple Pencil, iPad, and Procreate), you’re ready. Tap the app icon to launch Procreate and start creating!
Here is how to use Procreate to be ready and set up for whatever you create. We will cover creating a new canvas and selecting your procreate brushes.
Advertisment
Once you launch Procreate, the first thing to do is prepare the canvas you will be using. While the app comes with a variety of pre-set canvas sizes, users also have the option of creating a custom canvas.
Here is how you can set up a custom canvas in a few simple steps:
Procreate also offers a variety of other settings that you can adjust, such as the background color and grid size. However, these settings are optional.
You should first know how to choose the right Procreate brushes for your project. There are a couple of things you should ask yourself before selecting the brush you should use:
Once you have answered these questions, you can select a suitable brush.
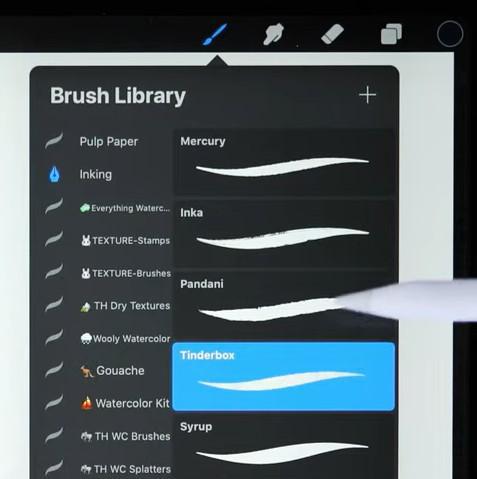
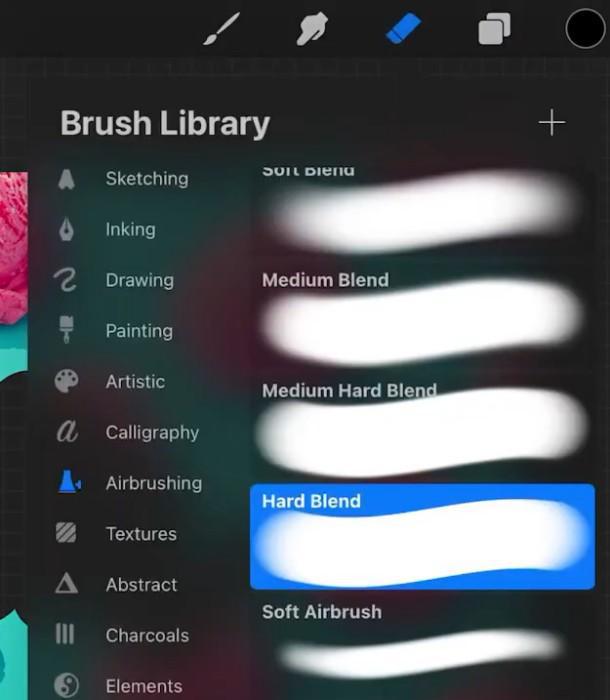
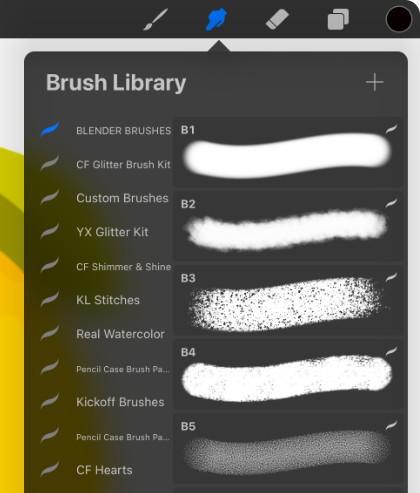
You can access the Brush Library by selecting the Brush icon on the top right of the screen. Here, you can access an entire library of Procreate brushes and make your selection.
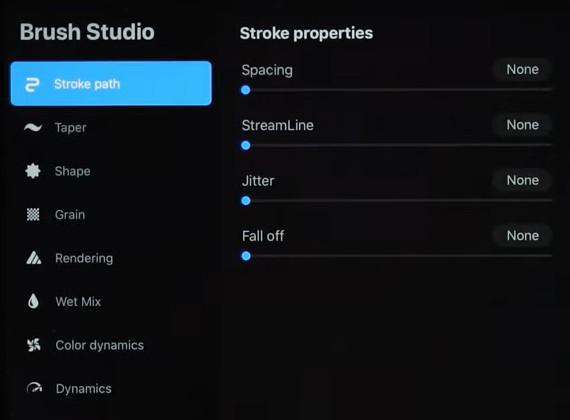
Once you have selected a brush, you can tap it again, and it will open the Brush Studio, where you can edit the stroke properties.
Procreate has various brushes, from pencils and inks to oil and watercolor paints. Some Procreate brushes are better suited for creating precise lines, while others are more suitable for painting large areas of color.
As a general rule, it’s a good idea to experiment with different brushes and see which ones you prefer. There’s no right or wrong answer when selecting Procreate brushes, so ultimately, it’s up to you to decide which ones you like best.
Next, we will cover the essential tools you need to know to get started in Procreate. These include the erase tool, layers panel, smudge tool, and action & quick menu.
Advertisment
The erase tool is a handy feature that removes unwanted elements from your image.
To access the erase tool, simply tap the Eraser icon in the toolbar on the top right of the screen. Then, use your finger or stylus to rub out the area you want to erase.
Like the brush tool, you can tap on the Eraser icon again to open up the Brush Library, where you can select various options.
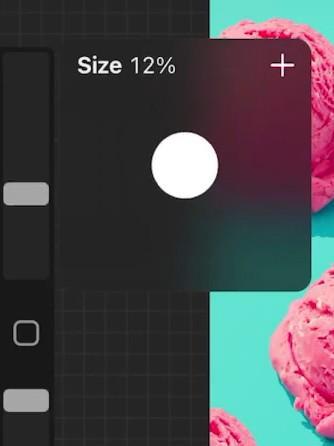
You can also adjust the size of the erase tool by sliding the toggle on the top to your desired size.
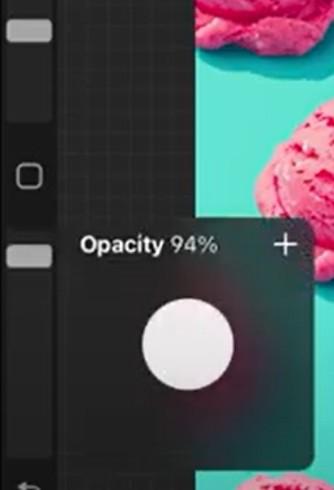
You can easily adjust the opacity of the eraser by sliding the bottom toggle up and down.
Advertisment
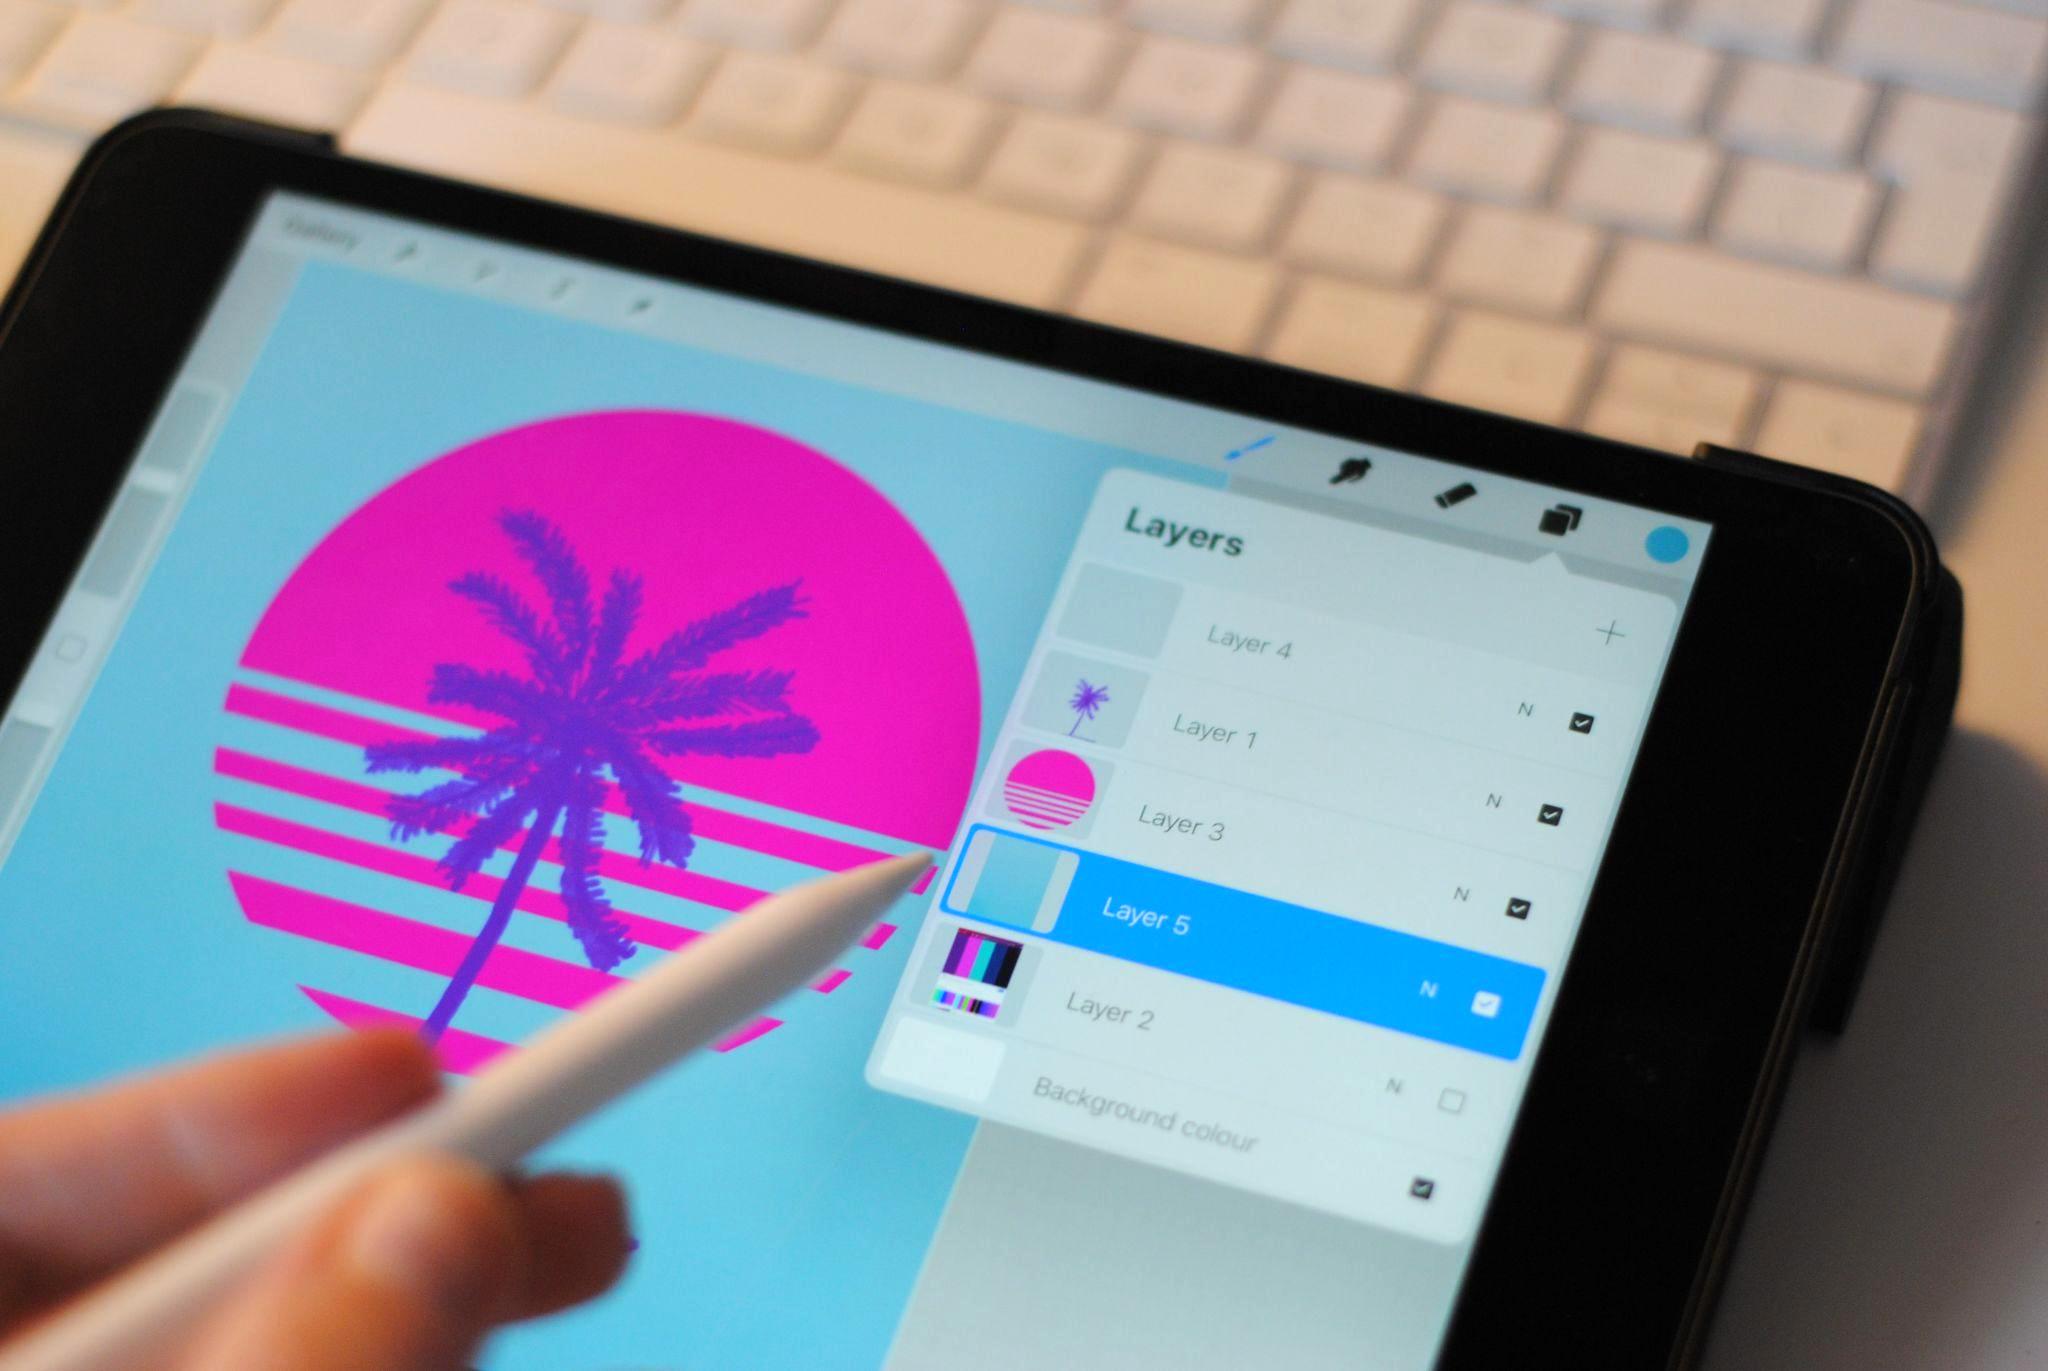
Like Photoshop & Snapseed, Procreate has a Layers tool that allows you to separate elements of your artwork into individual layers meaning you can edit each layer without affecting other layers.
Credit: Envato
The layers tool in procreate is accessed by tapping the Layers icon in the upper right-hand corner of the screen and selecting “+,” which will create a new layer. If you want more options within a layer, tap it again.
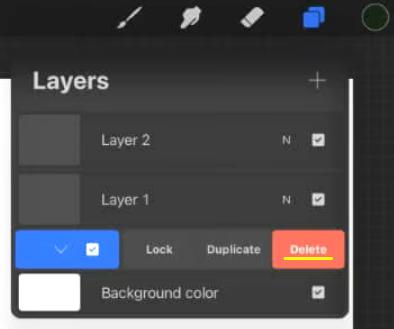
If you are unhappy with a layer and want to delete it, swipe the layer to the left to see more options and hit the red “Delete” button.
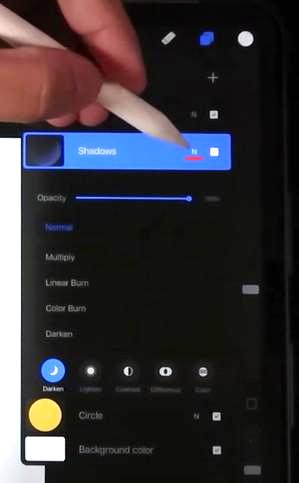
If you want to change the properties of a selected layer, such as opacity and blend mode, you can adjust this by choosing the “N” on the layer.
Multiple layers can be created and manipulated to create complex images. For example, you can use one layer for sketching, another for painting, and another for adding finishing details.
By experimenting with different combinations of layers, artists can find the best way to create their desired results.
Smudge is another tool you can find in the top-right corner of the screen. To select it, tap on the icon that looks like a finger.
Once the Smudge tool is selected, tap it again, and you will open the Brush Library, where you can choose from various brush sizes, textures, and shapes.
This tool works best with a soft-edged brush, so select a soft edge. Also, be sure to set adjust the opacity to your liking for the best results.
The action menu in Procreate allows you to quickly access a variety of actions and tools, including adding images and text, as well as turning on the quick menu which is what we will show you how to do.
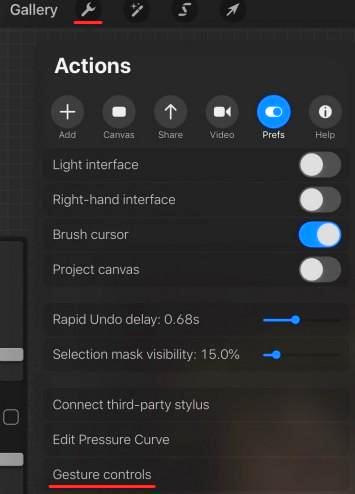
You can easily access the action menu by going to the Wrench icon on the top left. In this case, we will go to “Gesture controls.”

The Gesture control panel will open. From here, select QuickMenu and toggle on “Touch.”

Every time you touch your canvas with a finger, the Quick menu will open with shortcuts such as undo, redo, copy, paste, and more to optimize your workflow.
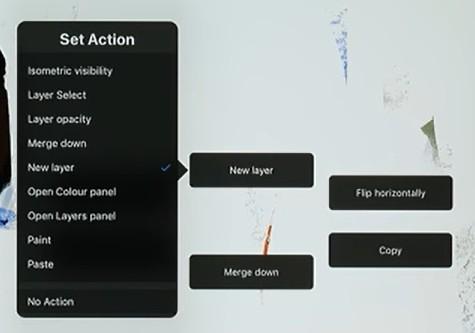
To customize any of these buttons, tap and hold the button you want to change and select the button you wish to in the list of options that appears.
The action menu is a great way to access various features and tools quickly and can help you save time when working on your projects.
Advertisment
Lastly, we will review helpful and fun Procreate tips and tricks you can try for yourself! These include creating your color palette, making a straight line, adding texture with clipping masks, and using liquify to warp your illustrations.
One of Procreate’s best features is the ability to create your custom color palette.
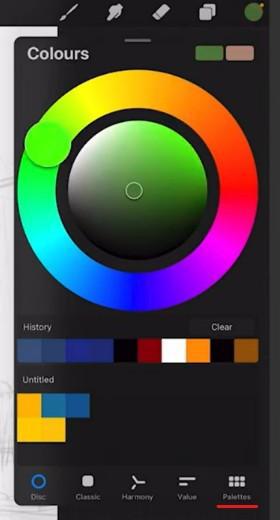
If you want to make a new palette, simply open the Palettes menu by selecting the circle on the top right of the screen, and go to “Palettes” on the bottom right of the menu.
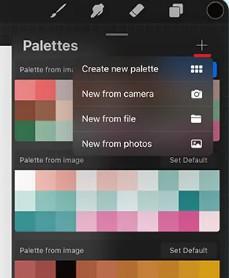
From here, select the “+” in the Palettes menu and choose “Create new palette.”
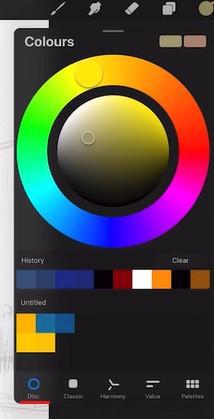
Go back down to “Disc” to start choosing your colors.
One of the easiest ways to create a palette is by importing a photo into Procreate and creating a palette from that.
You can find an image by going to Google Images, a Royalty Free Stock Photo website, or importing a photo you took.
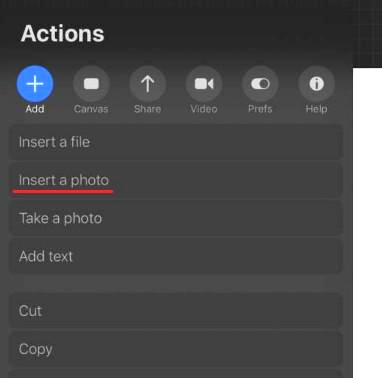
To import a photo into Procreate, you’ll have to open the Action Menu by selecting the Wrench icon on the top left of the screen.
With “Add” selected, go to “Insert a photo” and choose the photo you would like to import for your palette.
Once you have imported the photo, it will be on a new layer.
Credit: VisualTimmy
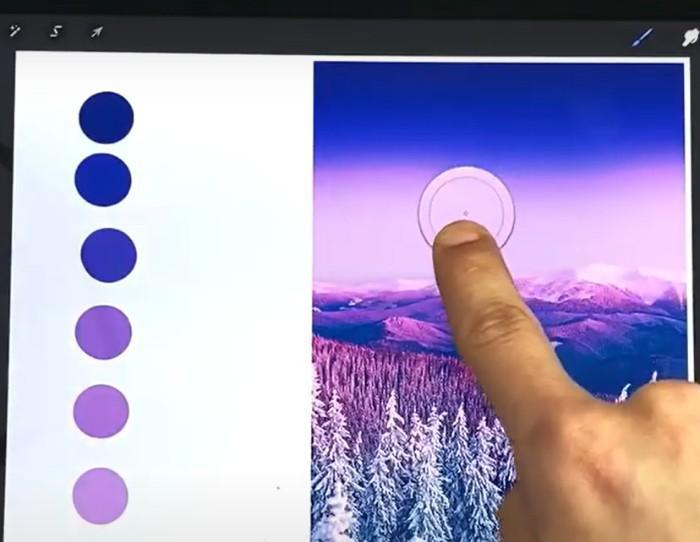
With one hand, tap and hold to select a color from the photo. With the other hand, hold your stylus and draw each color on the canvas.
Credit: VisualTimmy
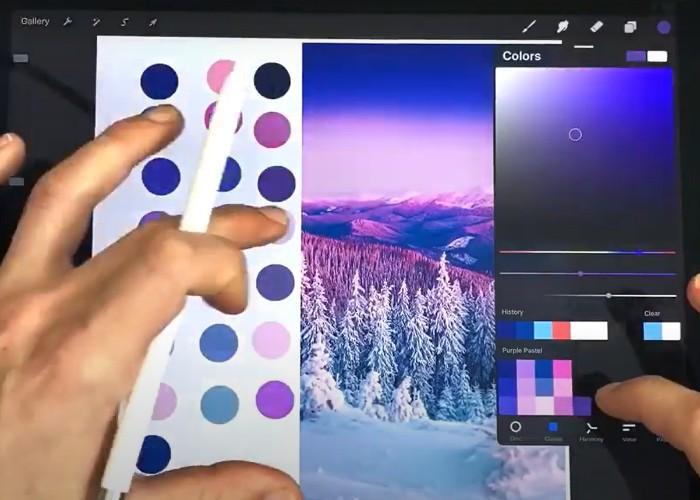
Once complete, hold down on each color to select it, then tap with the other finger to add it to your brand-new palette at the bottom of the Colors panel. You can also rearrange the order of your colors by tapping and holding a color, then dragging it to the desired position.
By creating your palette, you’ll be able to draw with precision and accuracy, allowing you to bring your vision to life.
Advertisment
Credit: Crate Shaner
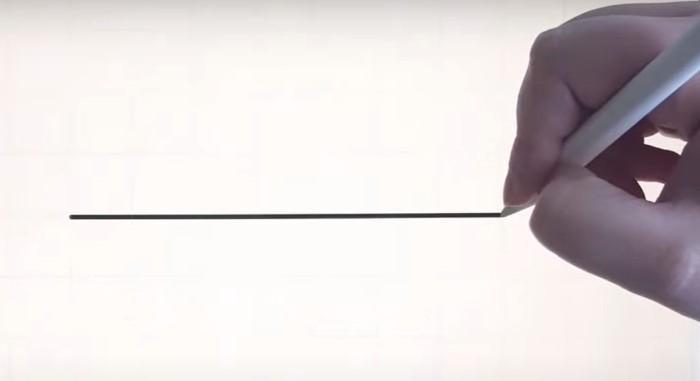
Creating a perfectly straight line in Procreate is incredibly easy.
All you have to do is draw a line and hold it at the end. Procreate will work its magic and automatically create a straight line between those two points!
Credit: Ghost Paper
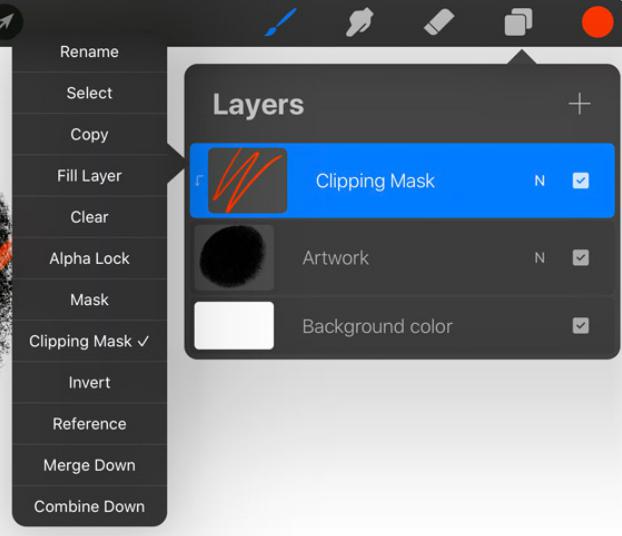
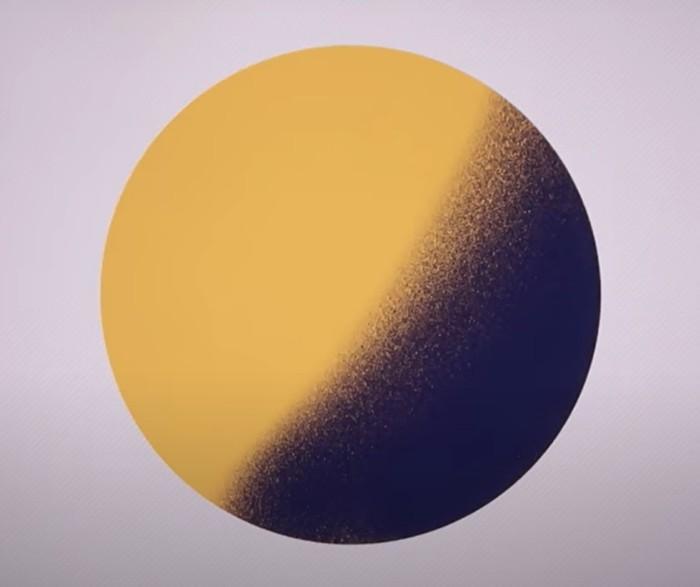
A clipping mask is a filter you can apply to images in Procreate. It allows you to cut out a section of the image and then use a color or pattern for just that section, like the shadow on the yellow circle shown above.
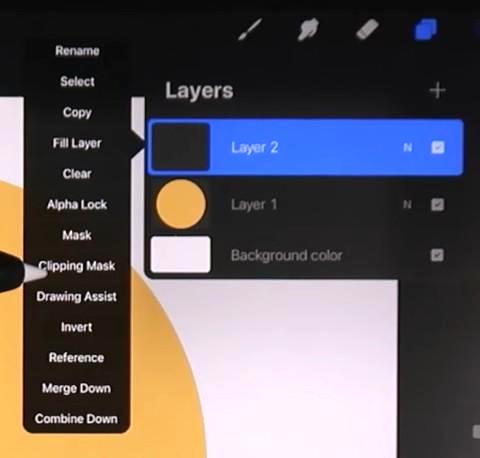
To create a clipping mask, tap the layer twice that you want to use as the mask. Then, tap the “Clipping Mask” button in the menu, which will create a new layer, and you can add your color or pattern to this layer. The color pattern will only affect the area within the mask layer’s shape.
Clipping masks are a great way to add interest and variety to your Procreate artwork!
Liquify in Procreate is a powerful digital tool to transform photos or images. The tool allows you to push, pull, and twist an image’s pixels to create various effects. For example, you can use the Liquify tool to make someone look thinner or wider, to change the shape of their nose or mouth, or to add wrinkles or other details.

To use the Liquify tool, select the Magic wand icon on the top left and choose “Liquify.”

A menu will appear on the bottom of the screen where you can determine the brush’s size, pressure, and distortion. Make your selections and use your finger or stylus to push, pull, or twist the pixels of the image. You can also use the Liquify tool to create textures by repeatedly applying pressure to the same area.
The sky is the limit regarding creative uses for the Liquify tool in Procreate!
Advertisment
So there you have it – how to use Procreate for beginners. We looked at how to set up Procreate on your device, the essential tools, and some tips and tricks to get your creative juices flowing.
As you start creating, remember there are no rules in art. Don’t be afraid to experiment with different techniques. You can even use AI design tools to simplify the design process if you get stuck. Keep practicing; in the end, practice makes perfect. The more you use Procreate, the better you will become at using its features.
What will you be creating?

Author Bio
Janine Heinrichs is a Graphic Designer who Writes at Janine Designs Daily. Her mission is to show people that the faster and more effective way to become a graphic designer is not by going to school; it’s by being bold and putting your work out into the world. Her work has been featured on popular design sites like Creative Boom.
Pin it for later!
If you found this post useful you might like to read these post about Graphic Design Inspiration.
Advertisment
If you like this post share it on your social media!
Advertisment


Want to make your Business Grow with Creative design?
Advertisment
Advertisment