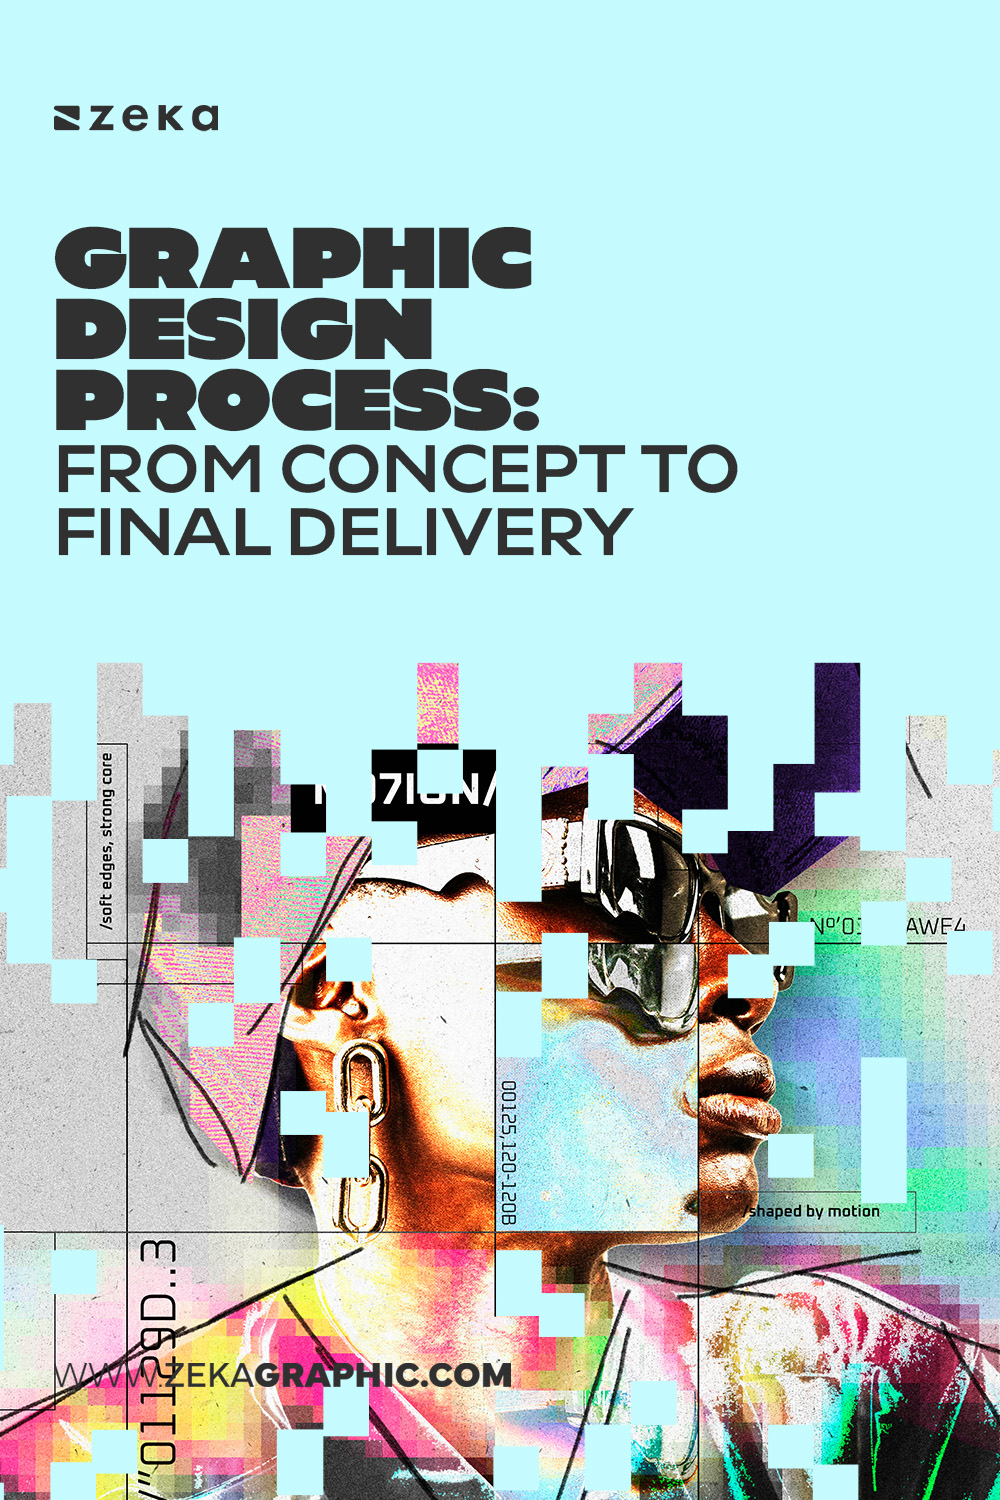
The graphic design process isn’t just a creative ritual — it’s the roadmap that transforms ideas into impactful visual solutions. Many designers assume that great design comes from sudden inspiration, but in reality, it’s the result of structure, discipline, and clear decision-making. A solid process helps you stay focused, consistent, and efficient, even under tight deadlines or demanding clients.
As a graphic designer, I’ve learned that a structured design workflow prevents creative burnout and saves hours of rework. When you follow defined steps in a graphic design workflow — from research to delivery — you ensure every creative choice aligns with strategy, not guesswork. This clarity also makes communication with clients smoother and builds trust in your expertise.
A well-defined creative process in graphic design offers three core benefits:
Advertisment
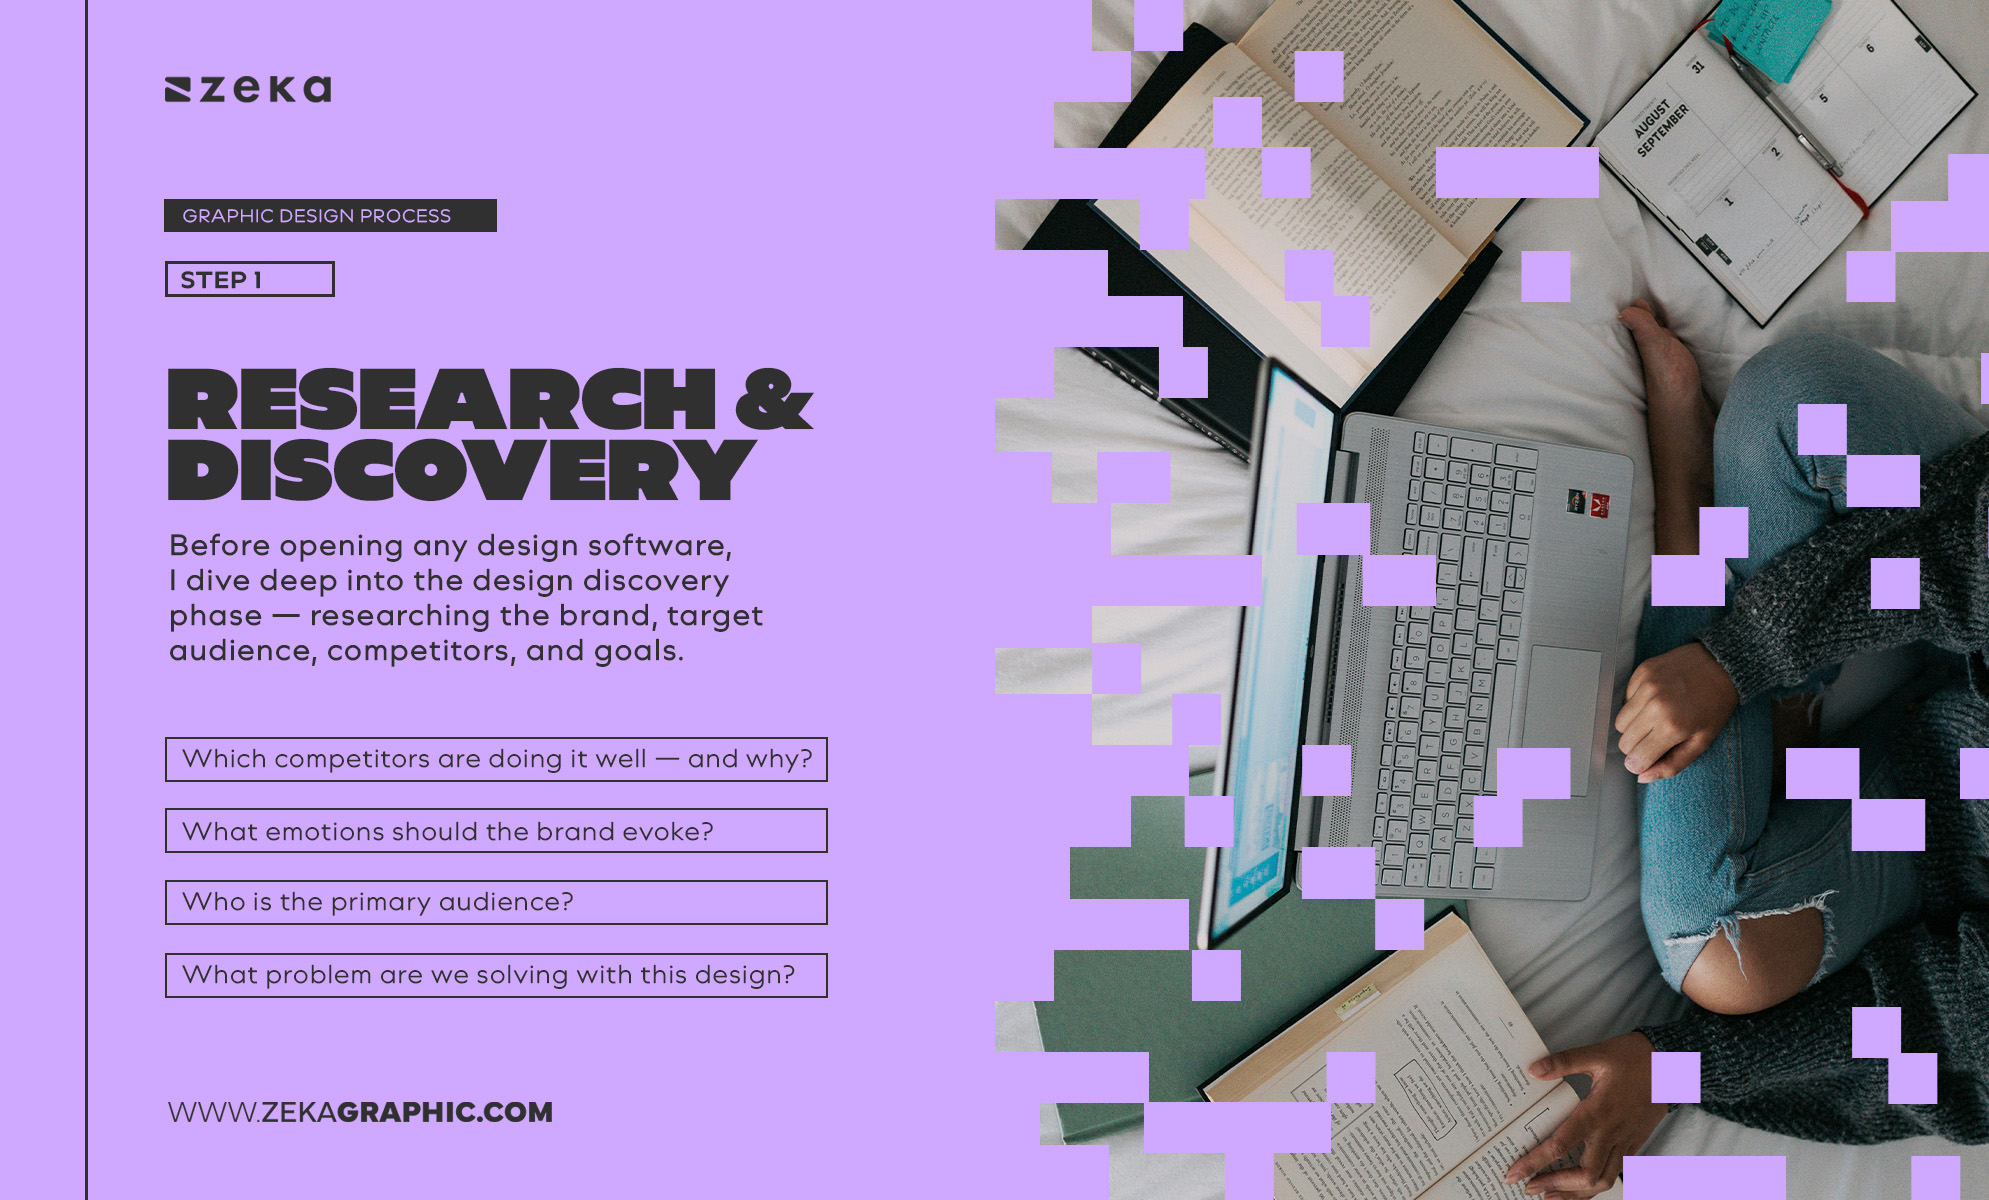
Every great project begins with understanding. The graphic design research process is the foundation that shapes creative direction. Before opening any design software, I dive deep into the design discovery phase — researching the brand, target audience, competitors, and goals. Whether I’m rebranding a local coffee shop or designing an app interface, this stage defines the “why” behind the visuals.
A strong client briefing process in design starts with asking the right questions:
During this project understanding phase, I often create moodboards, analyze existing materials, and summarize findings into a creative brief. This document becomes the north star for every design decision — from typography to color palette.
Pro Tip: Treat your creative brief as a map, not a formality. The better your research, the more precise and original your concepts will be.
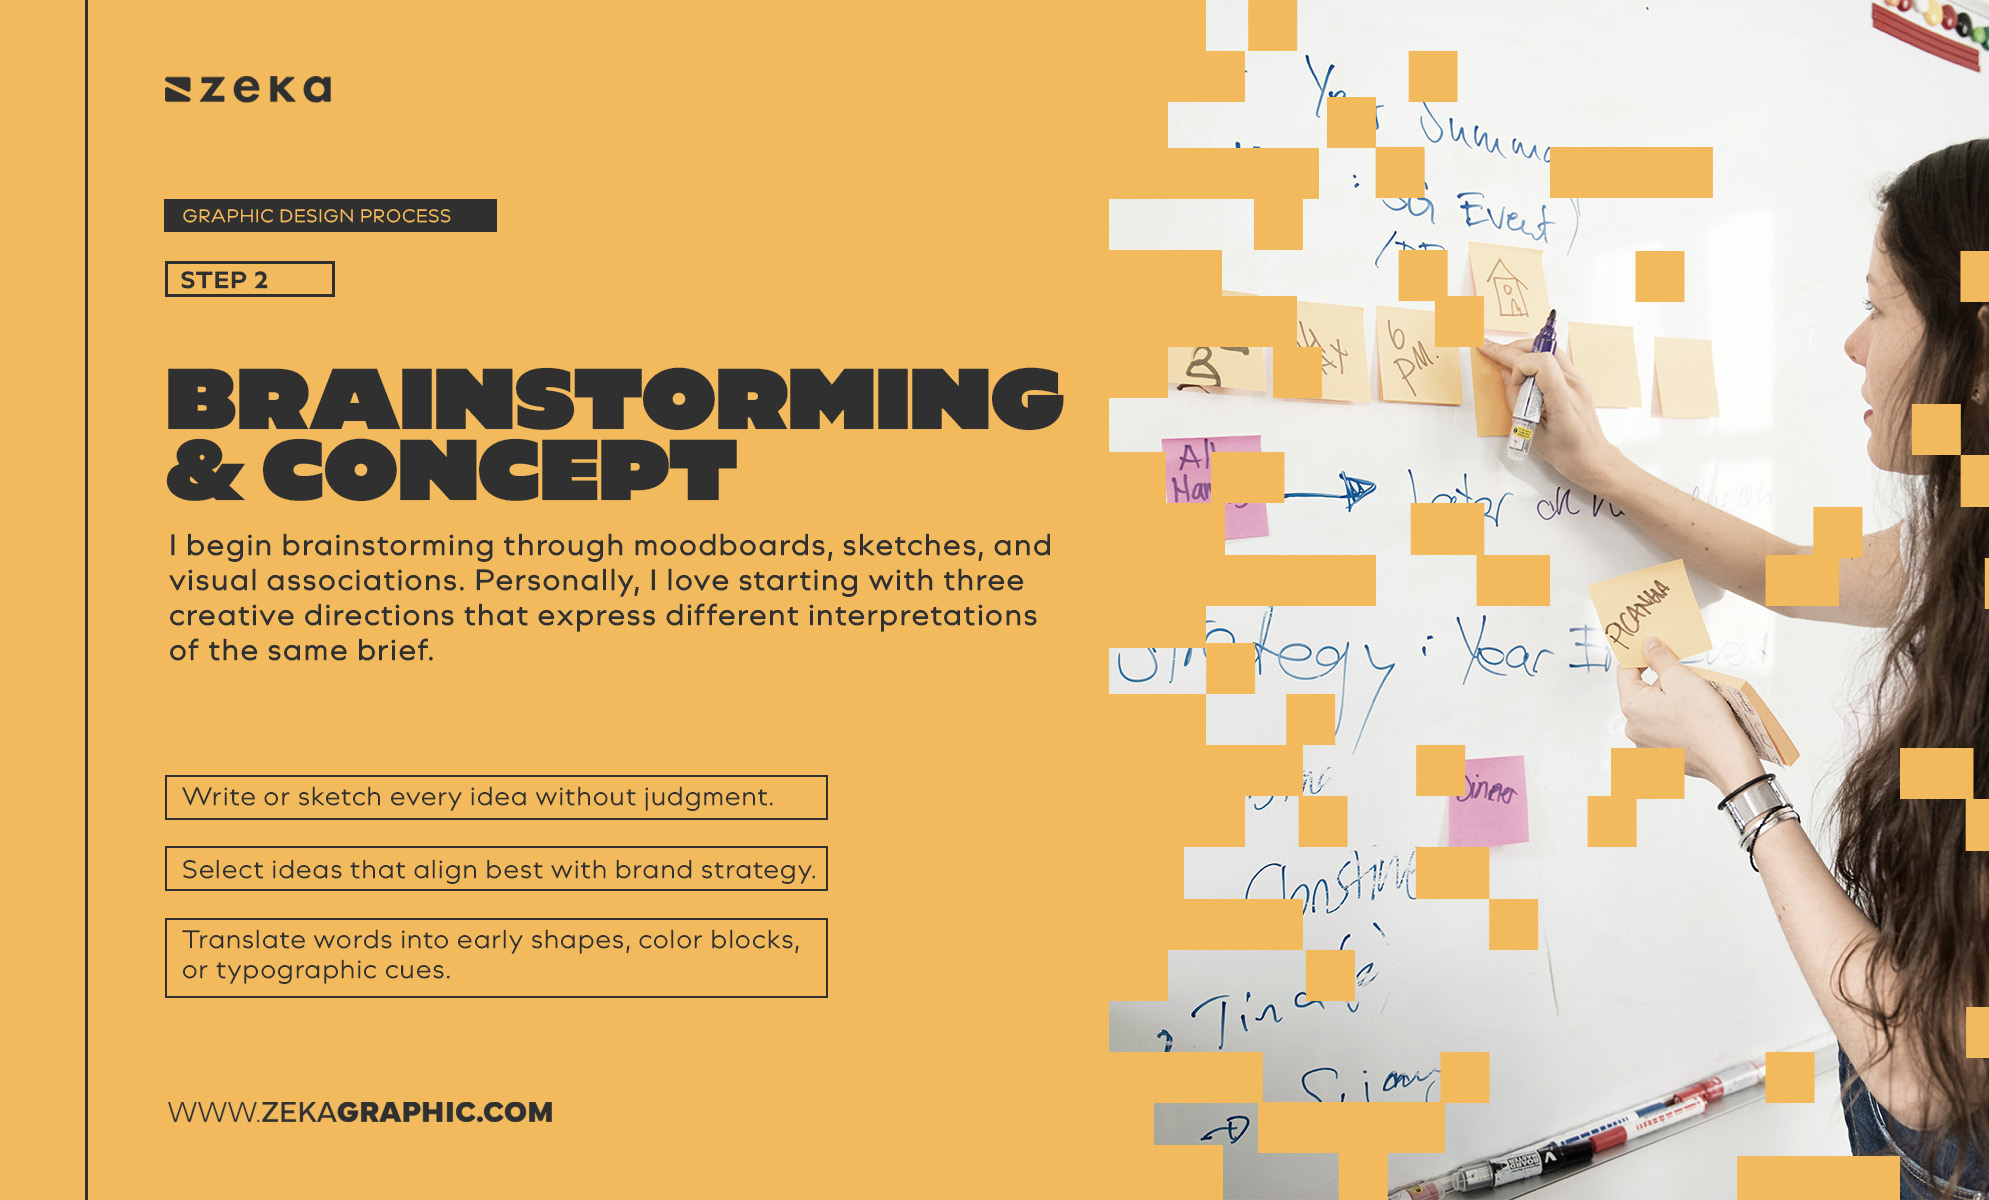
Once the foundation is clear, it’s time to turn strategy into ideas. The graphic design concept development stage is where imagination meets intent. I begin brainstorming through moodboards, sketches, and visual associations. Personally, I love starting with three creative directions that express different interpretations of the same brief — this encourages both exploration and focus.
When learning how to brainstorm design ideas, remember: creativity thrives on structure. I use methods like mind mapping, word association, or “What if?” scenarios to spark unique ideas. Constraints like limited colors or specific brand tones don’t limit me — they actually fuel originality.
Here’s how I approach the concept creation process:
By the end of this stage, I usually present three concept boards — each with its own visual identity and creative rationale.
Advertisment
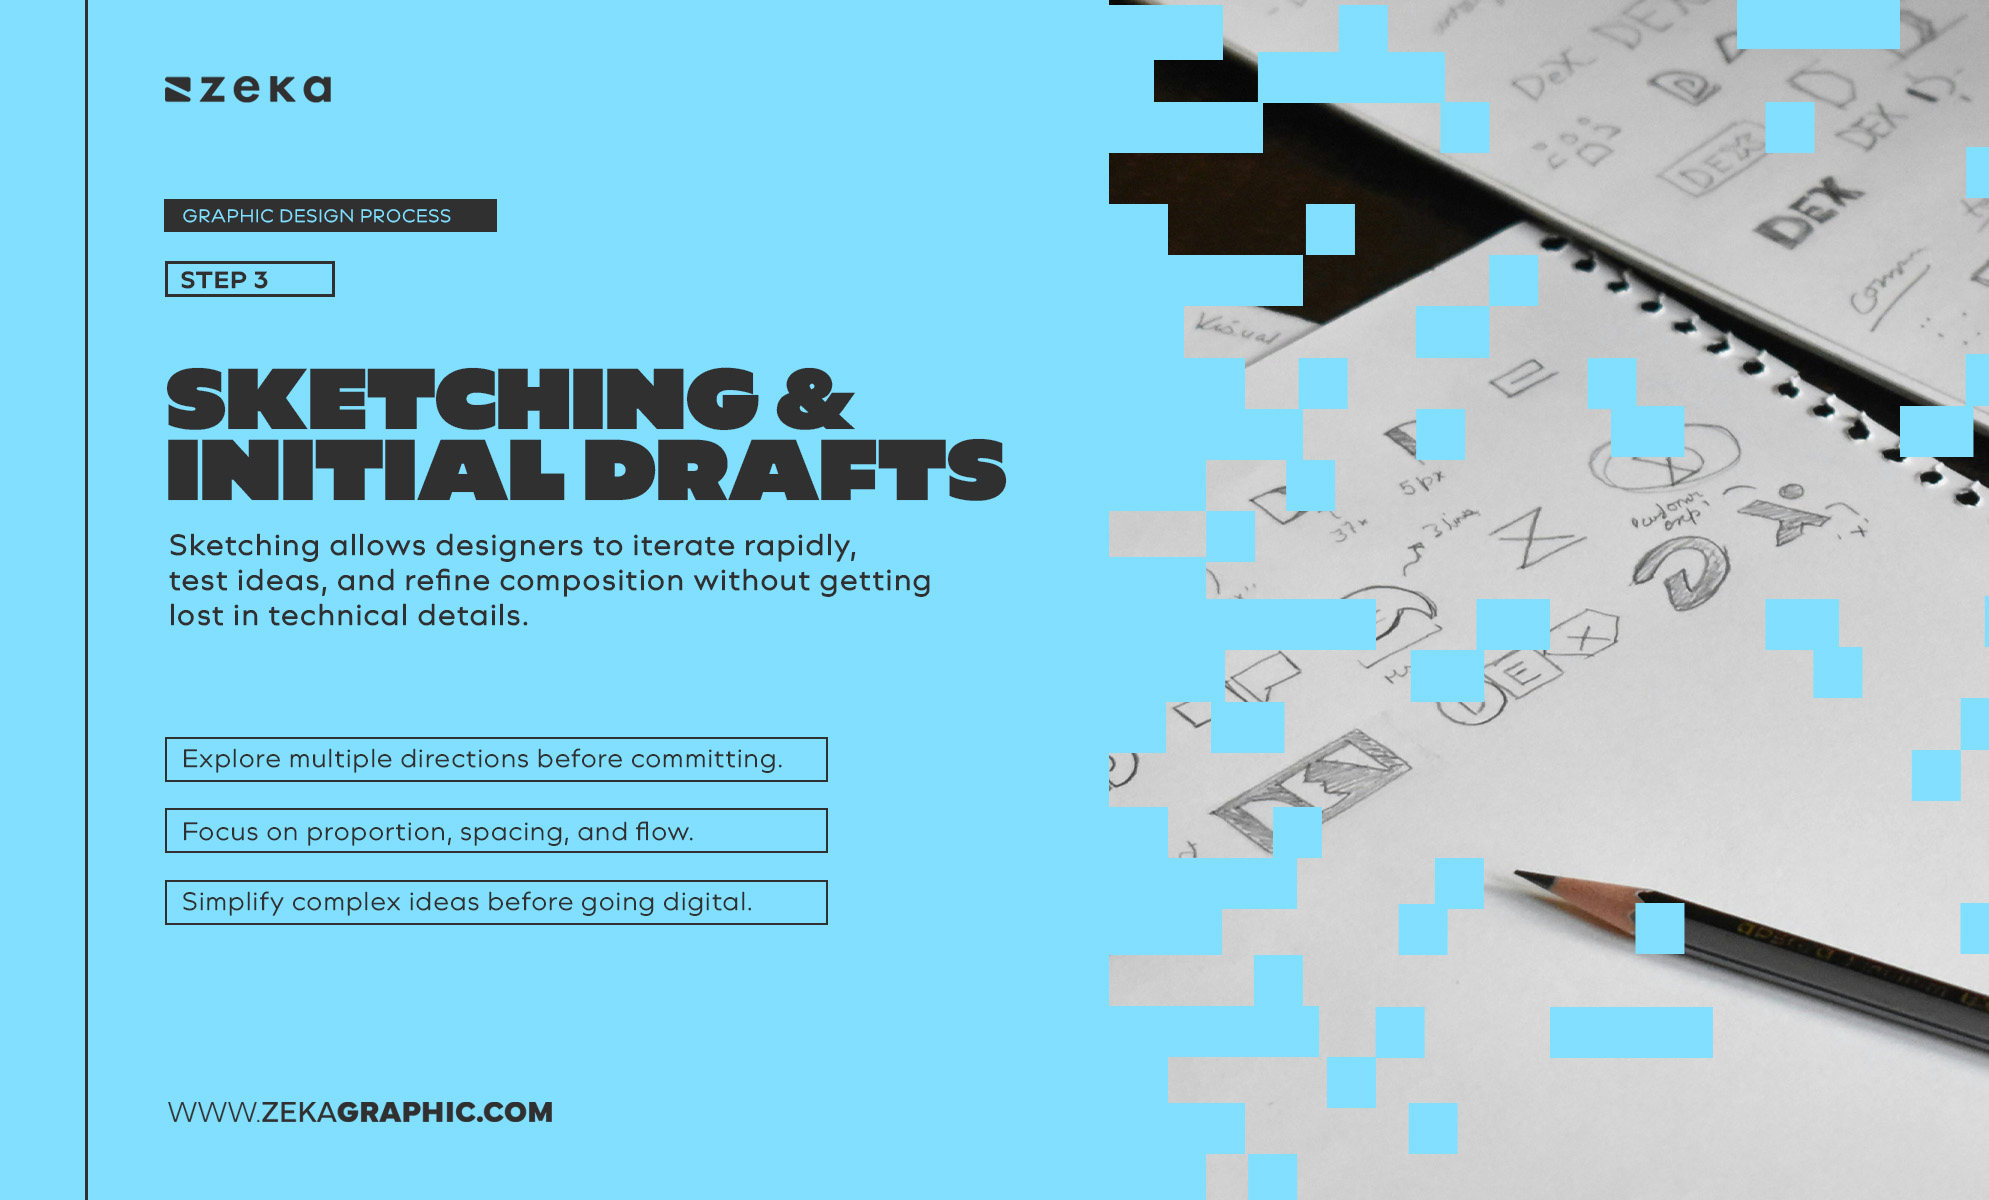
The design sketching process is where concepts begin to take visual form. Sketching allows designers to iterate rapidly, test ideas, and refine composition without getting lost in technical details. Whether on a tablet or a sketchbook, this is my favorite phase — it’s raw, intuitive, and free.
When learning how to create design sketches, focus on speed over perfection. I often sketch 10–15 rough variations of a logo or layout before choosing one to develop further. This visual exploration helps me identify strong shapes and eliminate weak ones early.
Some benefits of rough drafts in graphic design include:
Even in the age of AI and digital mockups, sketching remains an essential step in professional visual exploration for designers. It’s the bridge between thinking and making — the space where ideas evolve freely.
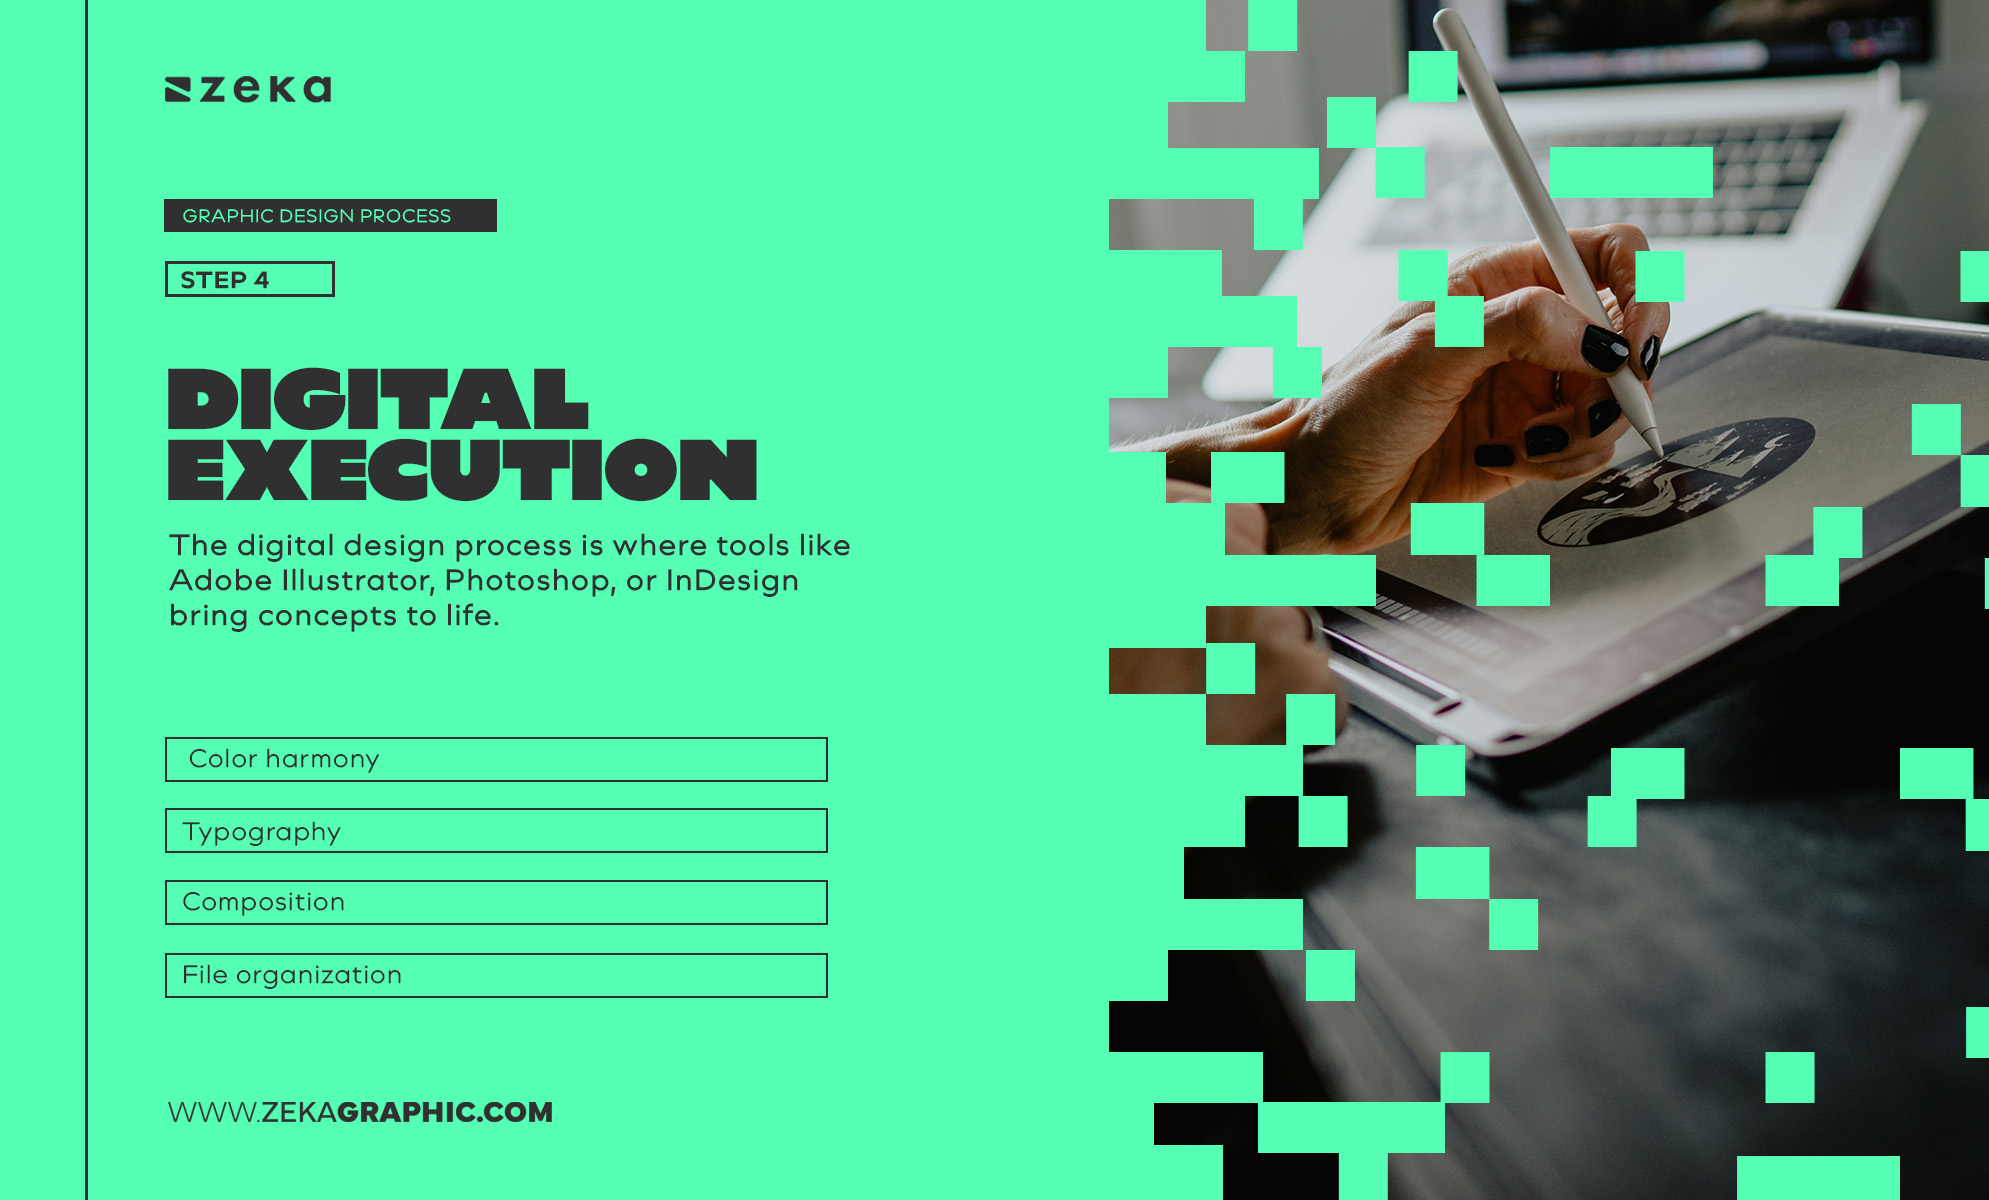
Once the idea feels solid, it’s time to refine it digitally. The digital design process is where tools like Adobe Illustrator, Photoshop, or InDesign bring concepts to life. Personally, I always start by setting up grids, guides, and styles to ensure consistency across formats. Whether it’s a logo, poster, or editorial design, precision begins here.
Learning how to translate sketches to digital involves more than redrawing lines — it’s about applying principles of alignment, color balance, and visual hierarchy. This production phase in design focuses on refinement, precision, and technical excellence.
Here’s what I focus on during digital design execution:
By the end of this stage, I create mockups or prototypes to visualize how the design works in real-world contexts.
Advertisment
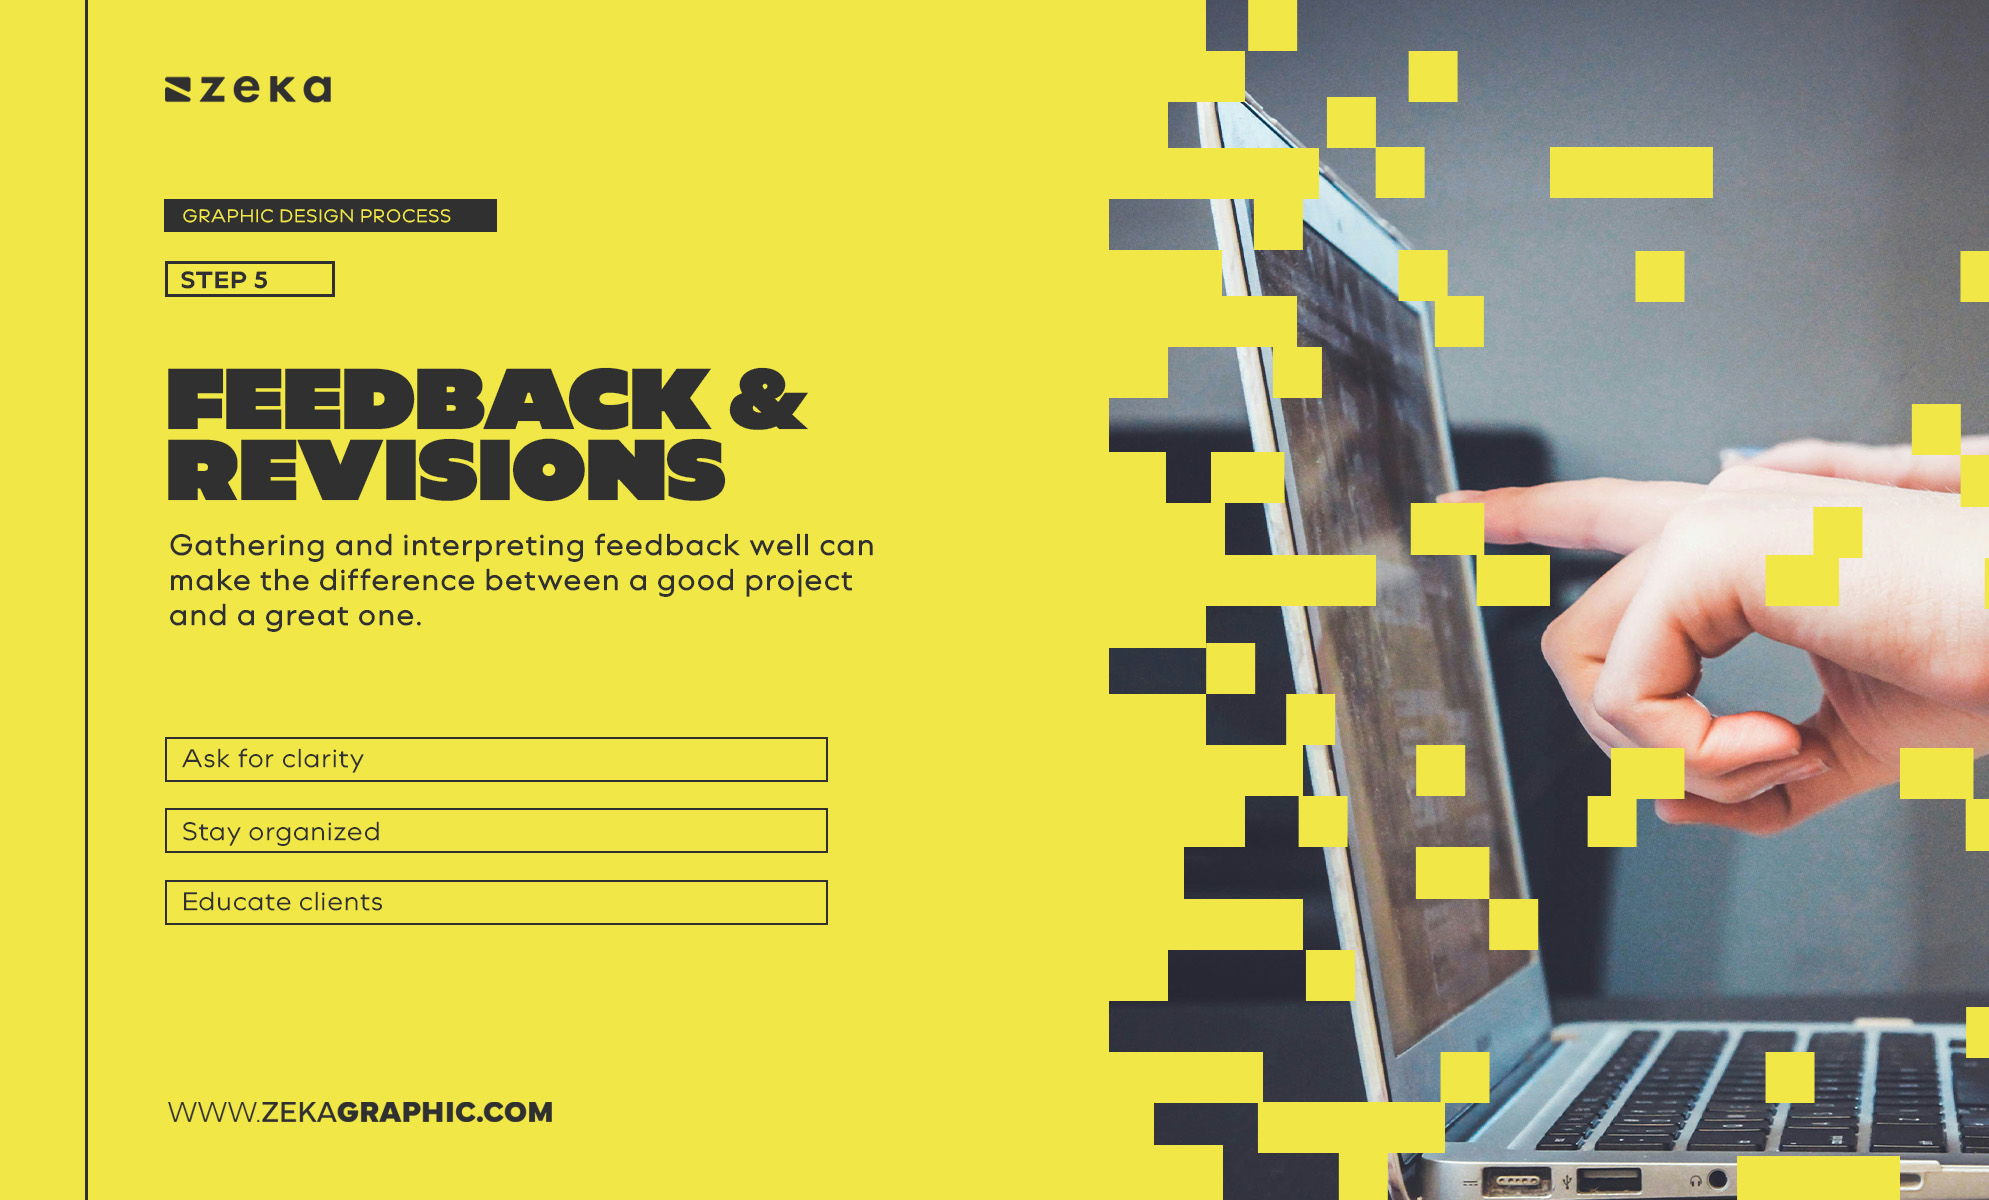
Feedback is the moment of truth in the design feedback process — where creativity meets collaboration. Good design isn’t finished when you stop working on it; it’s finished when it communicates effectively. Gathering and interpreting feedback well can make the difference between a good project and a great one.
In the design collaboration workflow, I share work-in-progress visuals with clients through platforms like Adobe Cloud, Notion, or Mail. Structured review sessions help clarify what works and what needs refinement. The key is to listen actively but not lose creative intent.
Best practices for handling client feedback in design:
Personally, I often present two refined options after revisions — one following feedback closely, another offering a bold creative alternative. This shows flexibility without losing artistic direction.
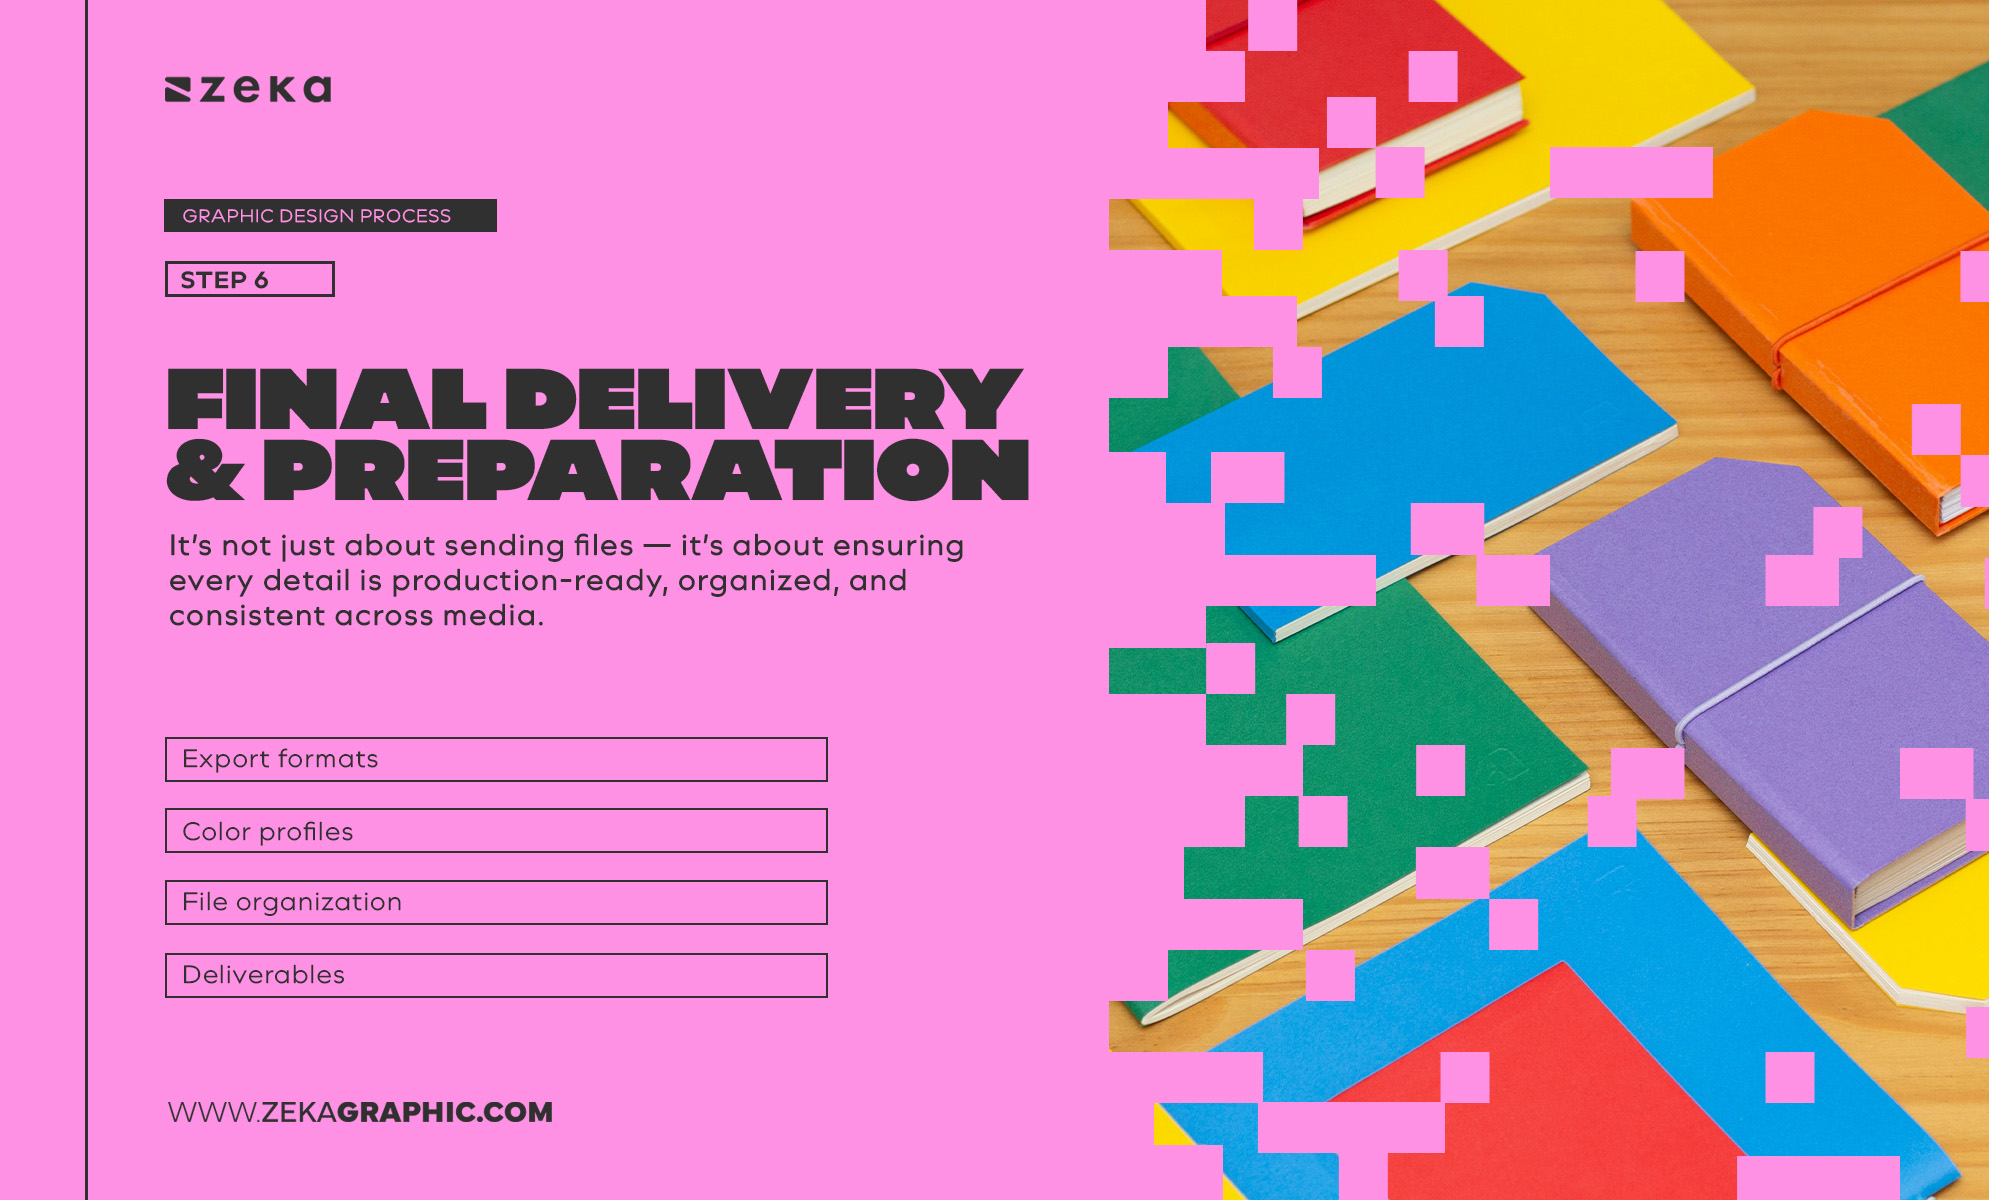
The final design delivery process is the professional polish that separates good designers from great ones. It’s not just about sending files — it’s about ensuring every detail is production-ready, organized, and consistent across media. Whether you’re exporting assets for print, web, or branding, this step ensures your work looks as perfect in the client’s hands as it does on your screen.
When preparing deliverables, I always follow a detailed design handoff checklist. This includes checking color modes (CMYK for print, RGB for web), verifying resolution (300 DPI for print, 72 DPI for digital), and cleaning up layers and file structures. Clear naming conventions and grouped assets save clients — and developers — a lot of confusion later.
🔧 How to Prepare Design Files for Clients
Task | Action |
Export formats | AI, EPS, PDF, SVG, PNG, JPG |
Color profiles | CMYK (print), RGB (digital) |
File organization | Name and group layers clearly |
Deliverables | Include logo pack, mockups, and usage guide |
For branding projects, I also include a brand guidelines document — covering logo spacing, color codes, and typography usage. For web or UI work, I export organized components and specs for developers, often using Figma, Adobe XD, or InVision for seamless collaboration.
Pro Tip: Always include a README or delivery note summarizing included assets, file versions, and contact details for future edits.
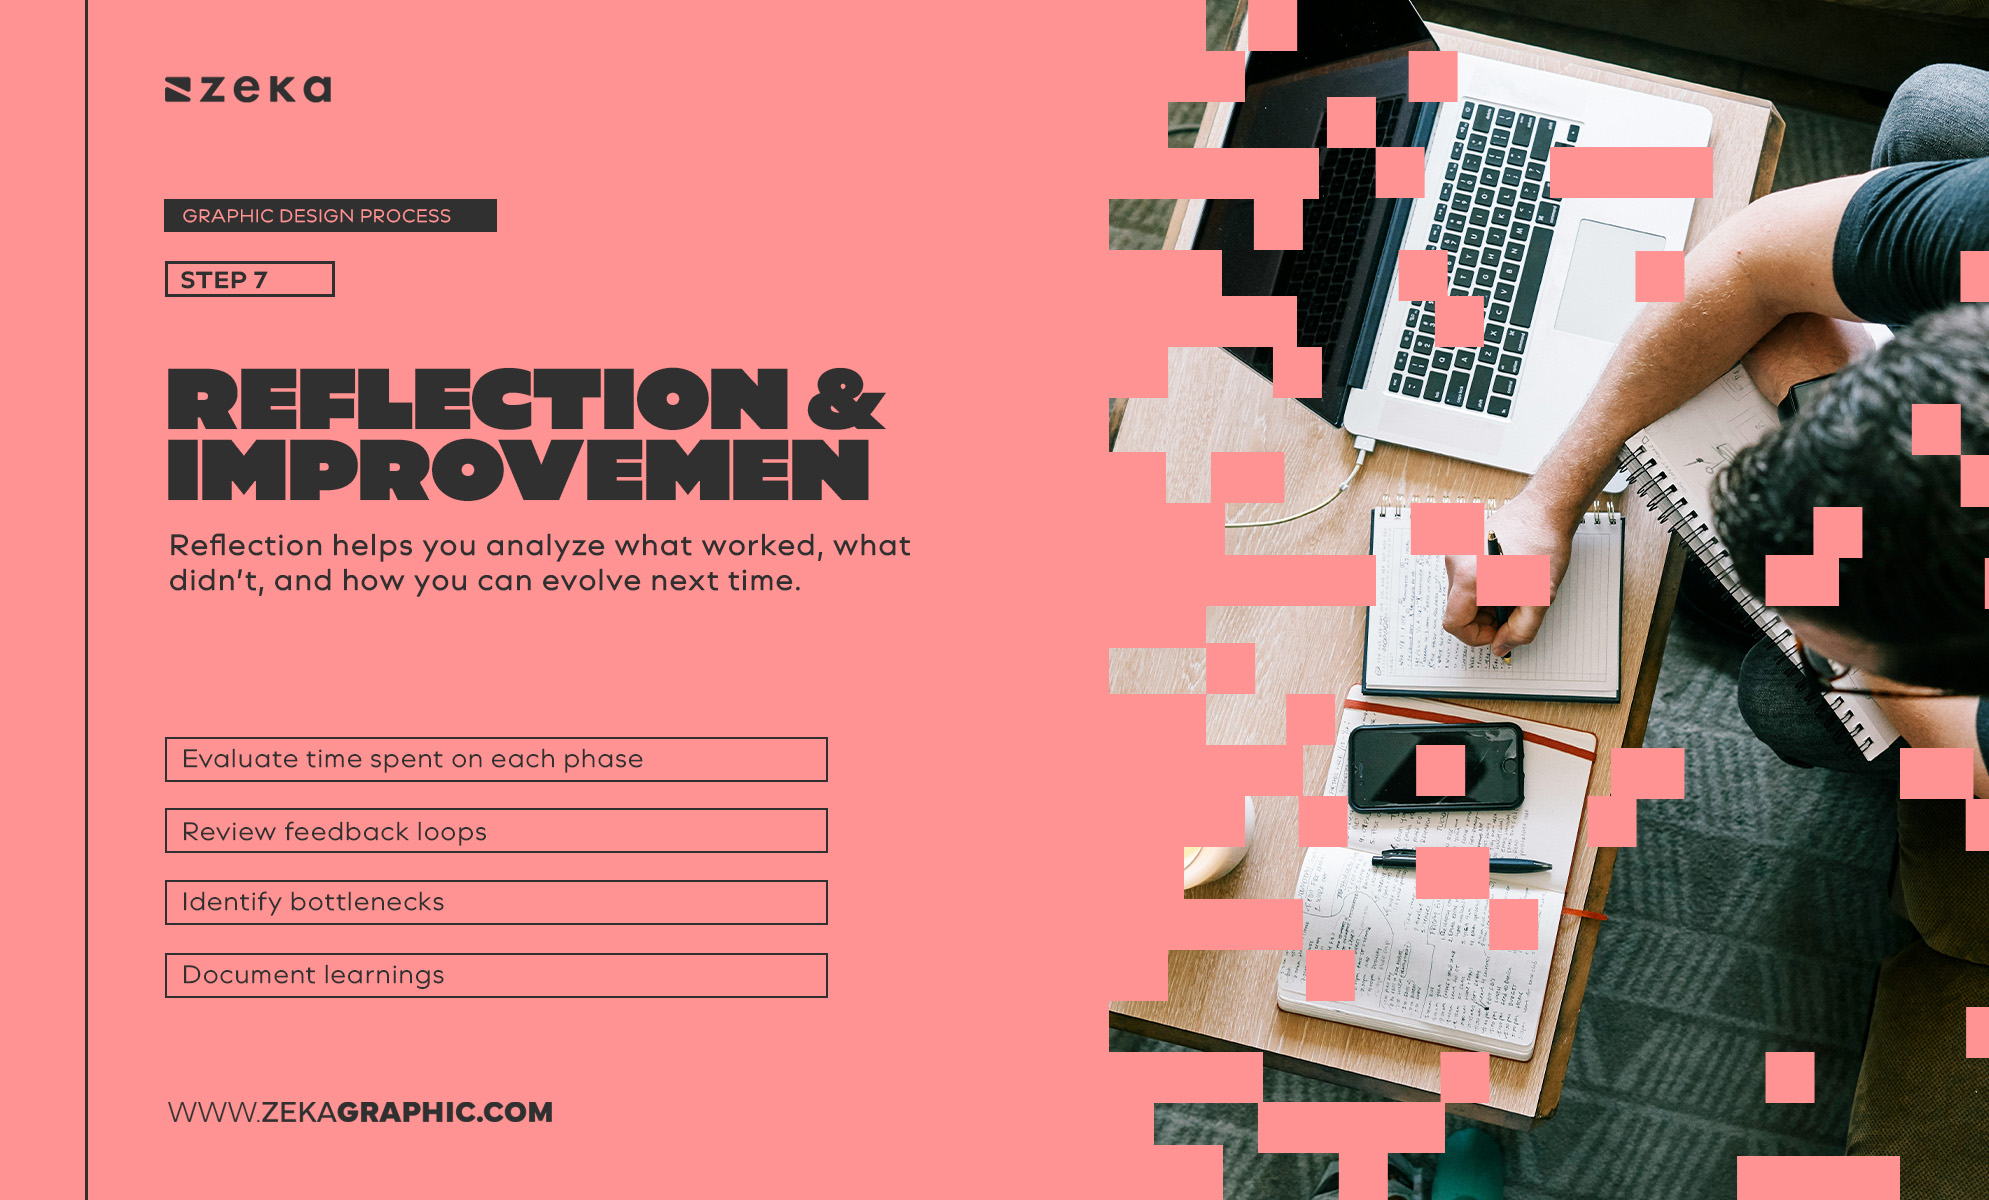
Every project — big or small — offers lessons. The best designers know that the design process improvement phase doesn’t end with file delivery. Reflection helps you analyze what worked, what didn’t, and how you can evolve next time. Personally, after each project, I spend at least 30 minutes reviewing my workflow, communication, and creative decisions.
If you’re wondering how to improve your design workflow, start with these steps:
Keeping a design project archive or writing case studies is invaluable. Not only does it help refine your creative growth, but it also builds your portfolio with detailed process insights — something clients and employers love to see.
Advertisment
The right tools turn chaos into clarity. Over the years, I’ve tested countless platforms to streamline the graphic design workflow, and these are the ones that consistently deliver results.
Best Tools for Each Stage of the Design Process
Phase | Recommended Tools | Function |
Research & Briefing | Notion, ClickUp | Project planning & client notes |
Concept Development | Milanote, Figma, Pinterest | Moodboards & ideation |
Design Execution | Adobe Creative Cloud, Affinity Suite | Illustration, layout, editing |
Feedback & Review | Frame.io, Google Drive | Client collaboration |
Delivery | WeTransfer Pro, Dropbox | File packaging & delivery |
Using templates for design process like creative briefs, feedback forms, and version trackers also keeps your projects professional and stress-free. I recommend creating reusable templates for proposals, contracts, and invoices — it’s a small effort that saves hours later.
Even seasoned designers fall into traps that derail projects. Recognizing these common design workflow mistakes helps you avoid frustration and missed deadlines.
⚠️ Most Common Design Process Errors
Mistake | Why It’s a Problem | How to Fix It |
Skipping research | Leads to misaligned visuals | Always start with a clear brief |
Ignoring feedback | Damages client relationships | Communicate revisions openly |
Poor file organization | Causes confusion at delivery | Use clear folders and naming |
Over-polishing early | Wastes time on weak concepts | Iterate before refining |
The key to avoiding beginner mistakes in design workflow is to slow down at the start and document your steps. Clear communication, consistent naming conventions, and a solid feedback loop keep projects smooth, even when timelines tighten.
Now that you understand the process, it’s time to make it your own. A graphic design process template helps you stay consistent across projects and communicate professionally with clients.
I recommend creating a custom workflow checklist that includes:
You can download or build your own design process checklist in Notion, Figma, or Google Docs to ensure every phase is covered. Keep editable templates for creative briefs, revision logs, and final delivery notes — these small details build reliability and client trust.
For inspiration, explore professional design frameworks and documentation examples from leading organizations.
Advertisment
The graphic design process is more than a set of steps — it’s the creative backbone that transforms ideas into results. By mastering each phase — research, concept, sketching, execution, feedback, delivery, and reflection — you unlock the balance between creativity and control.
Designers who document, refine, and optimize their process don’t just deliver great visuals; they build a reputation for professionalism and trust.
And in today’s fast-moving creative world, that’s your greatest competitive edge.
Now it’s your turn:
Because when your process is solid — your imagination can truly take flight. ✨
If you found this post useful you might like to read these post about Graphic Design Inspiration.
Advertisment
Written by
If you like this post share it on your social media!


Advertisment
Advertisment