Keep the Grain, Lose the Flaws: Modern Vintage Photo Restoration

Keep the Grain, Lose the Flaws_ Modern Vintage Photo Restoration

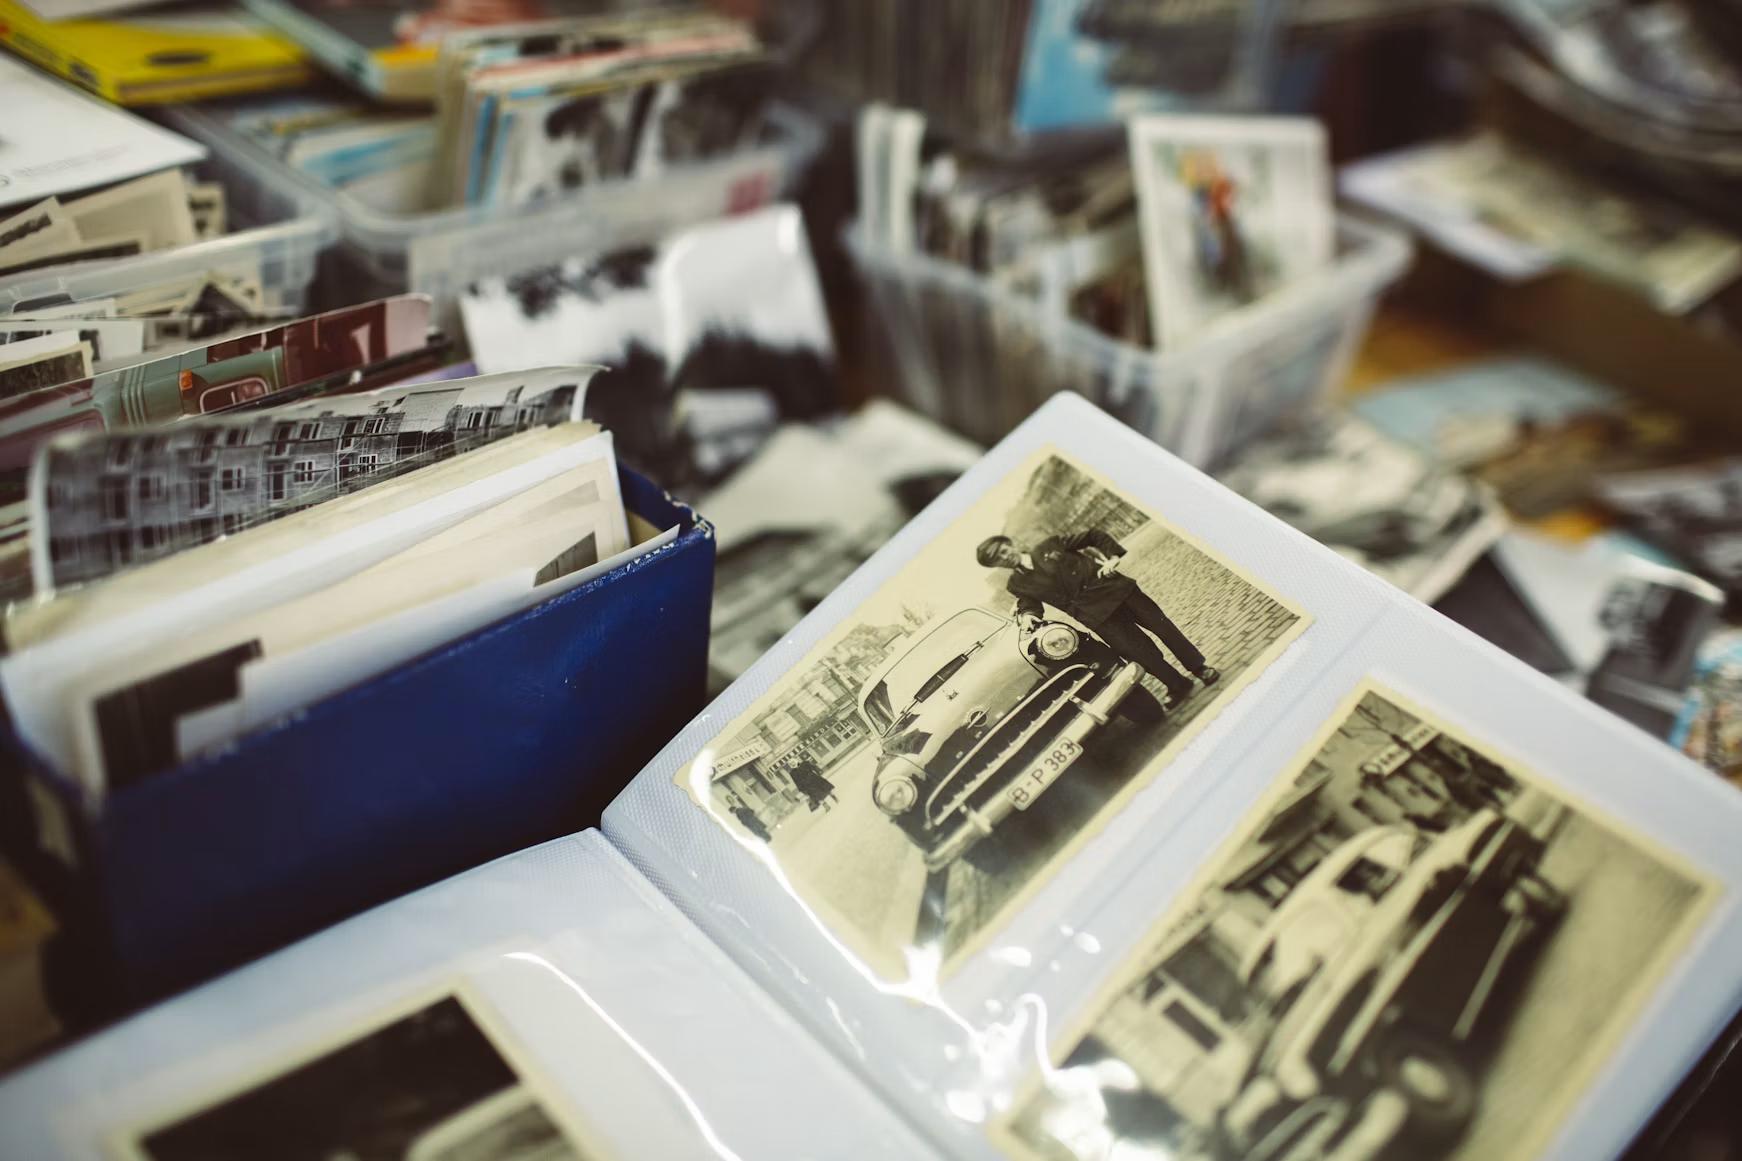
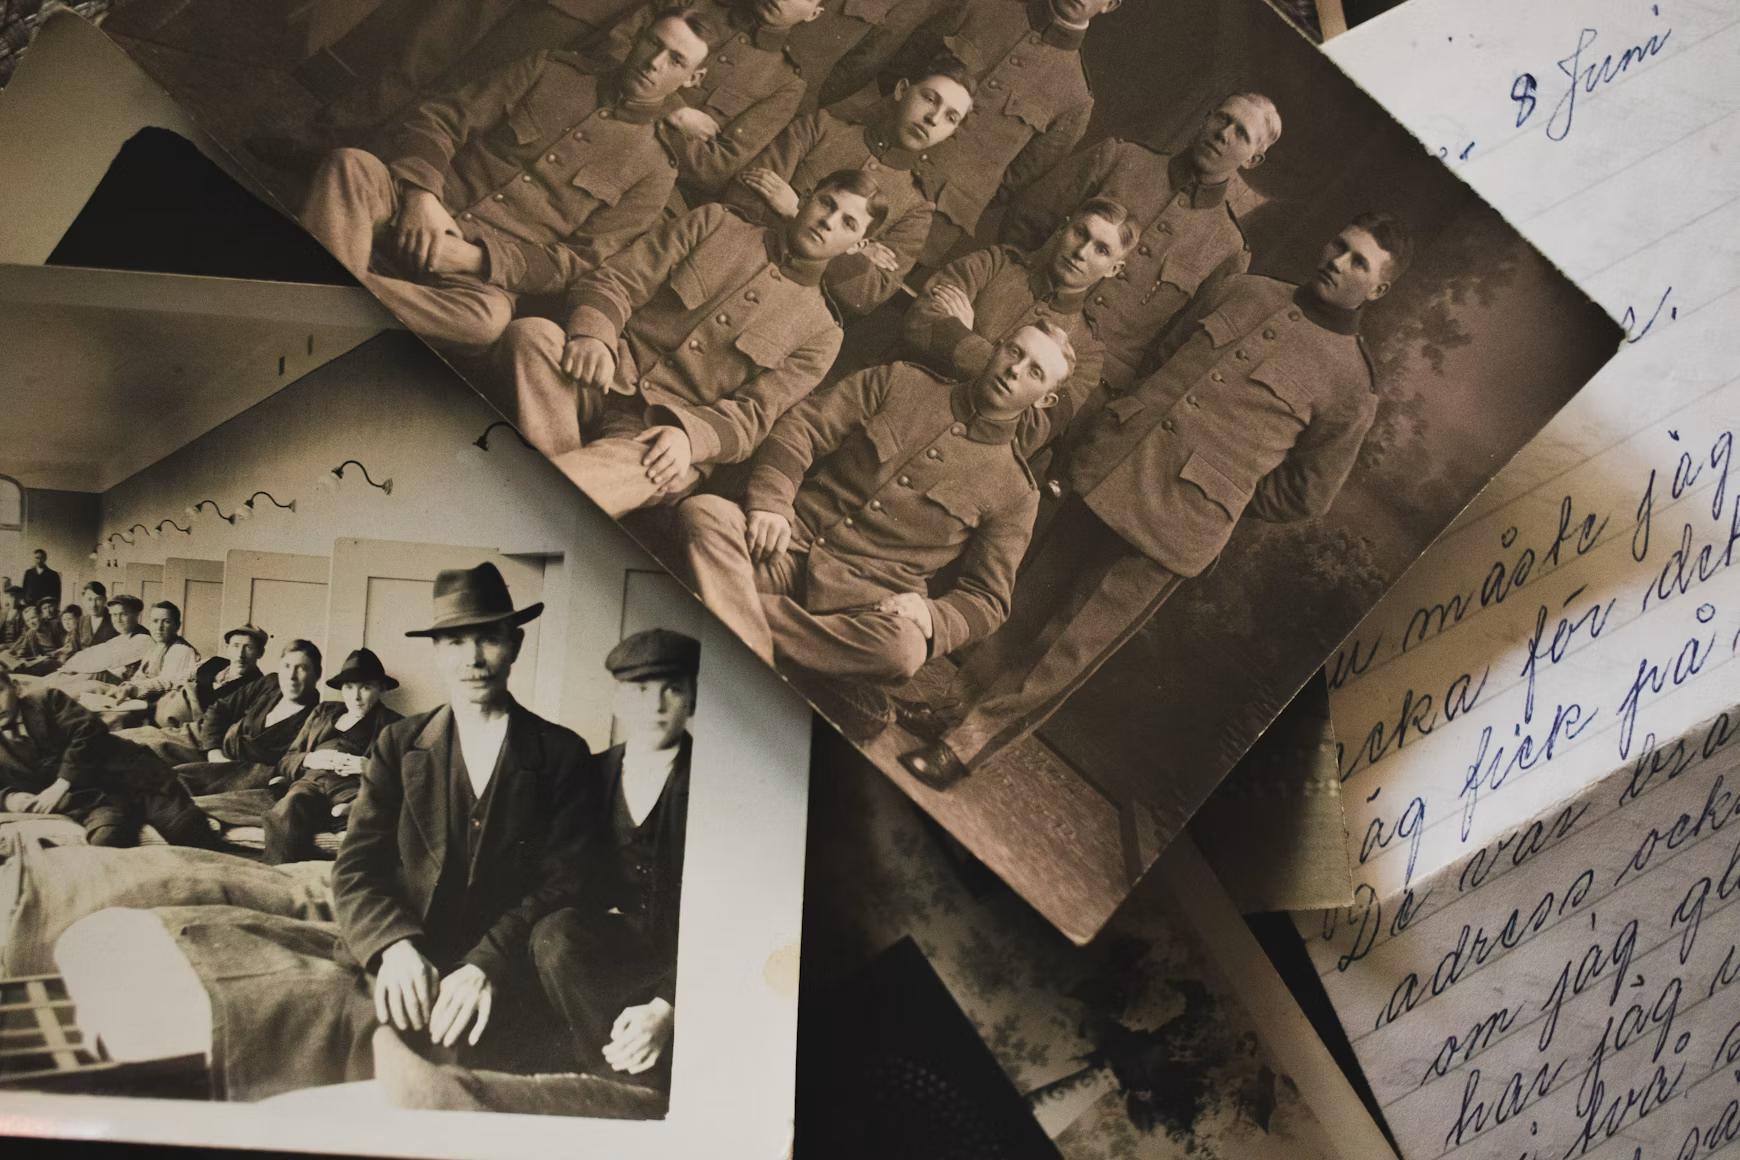
Old physical prints hold a unique charm. Warm tonal shifts, tactile silver halide paper, and fine organic grain lock a past moment in place. Yet time destroys paper media. Tucked away in damp attics or crammed into shoeboxes, vintage shots inevitably collect water spots, cracks, and deep color shifts.


Digitizing these keepsakes often tempts creators to erase every trace of age. But scrubbing an image completely clean crosses a fine line: you turn a historic picture into a flat digital file. Proper restoration repairs physical decay without turning a 1940s portrait into something shot on a modern digital camera. In this guide, we’ll explore how to balance automated cleanup with manual precision, repair damaged colors without losing historical accuracy, and protect—or rebuild—the authentic film grain that gives old photos their soul. 

Advertisment

The Vintage Paradox

Retouchers frequently fail with old photos because they mistake analog film traits for flaws. Heavy noise reduction, harsh digital sharpening, and aggressive smoothing strip away the photo’s authentic feel.


Film grain is fundamentally different from digital noise. While digital noise stems from sensors fighting for light, film grain is the picture—formed by tiny silver crystals or dye clouds holding the image together. Wiping out grain to get hyper-clear edges destroys subtle contrast, flattens skin, and leaves subjects looking like wax figures. Fix physical damage, but leave the underlying film structure alone.

The Vintage Paradox

Rules of Engagement

Establish three core habits before starting work in your photo software:


  • Protect Your Original: Keep a backup of your master scan before editing. Work non-destructively so every retouching adjustment can be tuned, toggled, or undone at any stage. 
  • Protect Era-Specific Colors: Avoid forcing modern color standards onto classic film stocks. A 1970s Kodachrome slide needs its rich reds and warm yellows; a 1910s cabinet card belongs in a gentle monochrome spectrum.
  • Know When to Stop: Leave small marks alone if they add historical context rather than distract from the subject.

Advertisment

Phase 1 – Smart Cleanup (Automatic + Manual)

Your first step is tackling physical wear—creases, dust, cracked emulsion, and mold spots. Balancing fast automated tools with precise hand retouching delivers the cleanest, most natural result. 


Fixing a heavily damaged scan frame-by-frame with a clone stamp takes hours. Modern workflows speed this up using dedicated software for initial heavy lifting. Running a specialized photo restoration program cleans up scratches and dust across the whole picture in seconds, evaluating surrounding pixel patterns to fill in small flaws without blurring underlying detail.


Follow up automated cleanup with manual adjustments. Grab a fine spot-healing tool or set clone stamps to carefully repair detailed areas like eyes, fabric textures, or background lines where automatic passes might blur fine edges.

Smart Cleanup (Automatic + Manual)

Phase 2 – Color Grading (Less is More)

Chemical dyes degrade at different rates as decades pass. Faded cyan often leaves color prints with a harsh magenta cast, while black-and-white photos yellow over time.


Approach color fixes with restraint:

  • Target Off-Colors, Keep Tone: Use color balance samplers to strip away harsh discoloration without washing out the stock’s natural warmth.
  • Protect Contrast Ranges: Bring flat, faded tones back using tone curves, but keep shadow points slightly lifted (around RGB 10–15) instead of setting them to absolute black. Pitch-black shadows break period accuracy and clash against aged midtones.

Phase 3 – The Grain Rescue (The Secret)

Managing grain where heavy repairs wiped it out separates basic edits from expert restoration. Patched sections over damaged backgrounds look unnaturally smooth next to surrounding film texture.


Solve this with a quick texture audit. If cleanup smoothed out the image structure, overlay subtle sampled or procedural grain back into the repaired spots. Adjust its scale, sharpness, and density to match the surrounding original pixels. This blends your retouching seamlessly, preserving the look of a well-maintained vintage print.

The Final Designer’s Checklist

Run through these checks before saving your final export:


  • 100% Zoom Pass: Sweep across the high-res file to catch missed dust spots, repeated clone patterns, or harsh brush lines.
  • Texture Balance: Toggle your grain effects on and off to confirm smooth regions like skies or skin match textured areas like clothing.
  • Monochrome Luminosity Check: Add a temporary black-and-white adjustment layer to audit underlying light values. Ensure midtones remain rich instead of washed out.
  • Historical Reality Check: Look at the picture and ask: Does this look like a preserved vintage original or a modern digital photo with a quick filter applied?

Advertisment

Conclusion

Restoring old pictures centers on preservation. Fixing physical wear with specialized tools while protecting original grain and tonal range keeps these visual records grounded and real for future generations.


Have a stack of old prints waiting for a second life? Pick a photo from your collection, apply these core steps, and experience the satisfaction of bringing a piece of photographic history back to light. 

Advertisment

Pin it for later!

Vintage Photo Restoration

If you found this post useful you might like to read these post about Graphic Design Inspiration.

Advertisment

If you like this post share it on your social media!

Share on facebook
Share on twitter
Share on pinterest
Share on vk
Share on telegram
Share on whatsapp
Share on linkedin

You Might Be Interested On These Articles

Advertisment

Latest Post